How to Erase Crayon: Easy Methods for Paper, Walls & More
One of our kids left a bright orange crayon streak across the corner of a finished drawing, right where the good part was. If you want to erase crayon from paper without tearing the page, you have probably been there too, standing at the kitchen table wondering how much of it will actually come off. The honest answer is that you can lighten and reduce most crayon marks, but you usually cannot make them vanish completely. Once you accept that goal, the whole job gets a lot less stressful.
We have wiped, scraped, and blotted our way through a lot of crayon over the years at our table, so this guide walks through the methods that genuinely help. We will start with paper, since that is the trickiest surface, then point you toward the right approach for walls, couches, and everything else.
Why Crayon Is So Hard to Erase From Paper
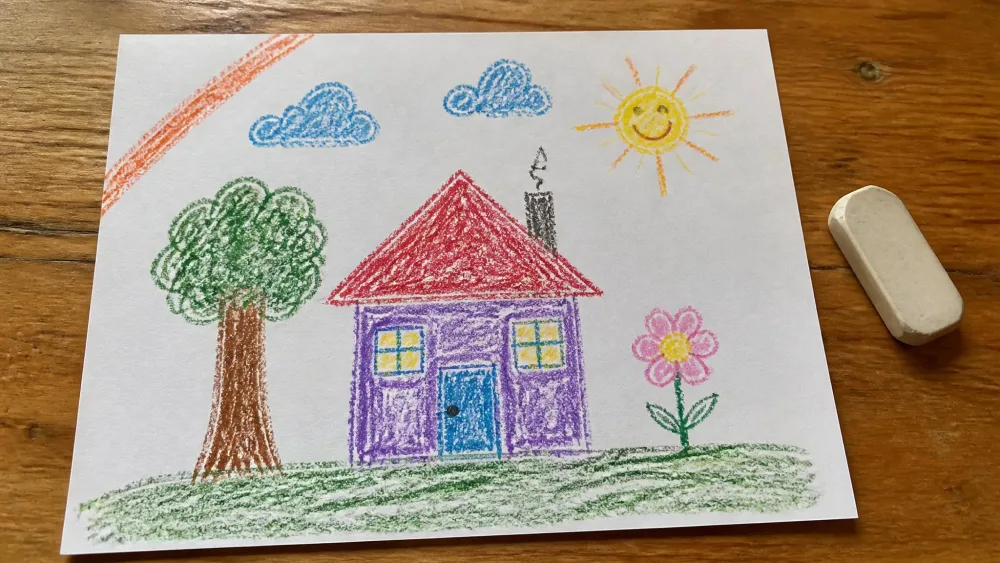
Crayon is mostly wax and pigment, and that wax is the whole problem. When a child presses down, the warm wax works into the tiny fibers of the paper and settles below the surface. A pencil line sits on top of the page, so an eraser can lift it. A crayon mark soaks in, which is why rubbing harder often just smears it wider.
This is also why the paper itself matters so much. Smooth, coated pages like glossy magazine paper or cardstock hold the wax closer to the surface, so it releases fairly easily. Thin, absorbent paper such as newsprint or notebook paper drinks the wax in deep and needs much gentler handling.
Even Crayola, the company that makes the crayons, says it does not manufacture a product to remove crayon marks from paper. That tells you the realistic goal here is to reduce the mark, not to erase it perfectly. Keep your expectations calm, work slowly, and you will usually be surprised by how much lighter you can get it.
What You'll Need
You almost certainly have most of this already. Gather your supplies before you start so you are not searching mid-task with a smudge under your hand:
- A soft eraser, ideally a kneaded eraser from an art-supply store
- A few clean paper towels or a lint-free cloth
- A dull plastic tool, such as a spoon edge, plastic scraper, or old credit card
- An iron or a hair dryer, if you decide to try the heat method
- A small bottle of rubbing alcohol and a cotton swab
- A few moistened baby wipes for light marks
You will not need all of these for every job. Match the tool to the mark, and always keep a spare clean cloth within reach.
How to Erase Crayon From Paper, Step by Step
Work through these methods roughly in order, from gentlest to strongest. Start with the softest approach that has a chance of working, and only move up if the mark refuses to budge. Test any method on a corner or a hidden edge first.
Method 1: Soft or Kneaded Eraser
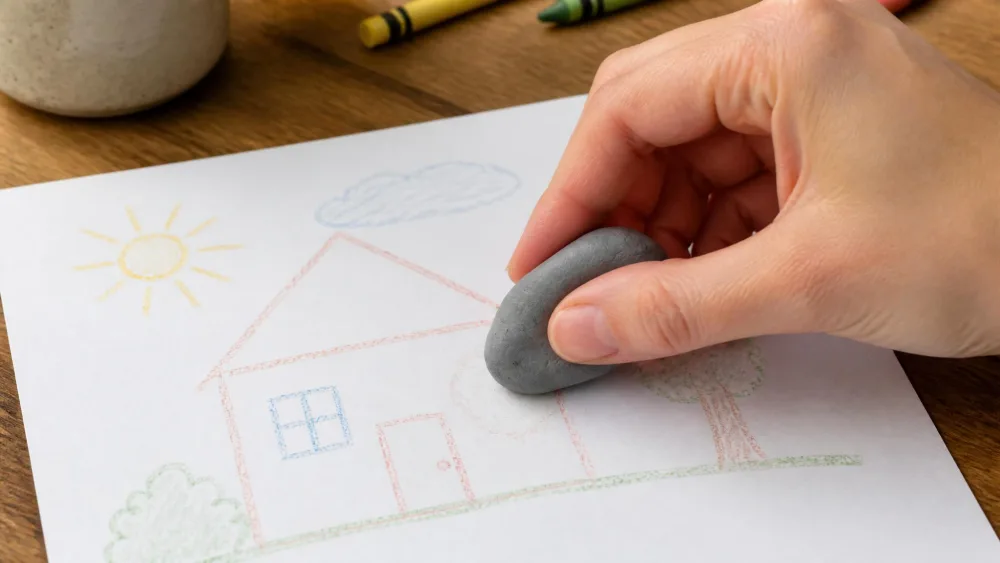
This is our first stop almost every time, and it is the one Crayola recommends too. A kneaded eraser is the star here because you can squeeze and reshape it to grab wax off the surface rather than grinding it in. Warm it in your fingers for a moment so it stays soft and tacky.
Rub gently in small circular motions with light pressure, lifting after each pass to see your progress. In our experience this works best on light marks and thin, pencil-like outlines rather than heavy, waxy buildup. A soft vinyl or art-gum eraser does a similar job when a kneaded one is not on hand. Be patient with thin paper and stop the moment the fibers start to fuzz.
Parent tipTest on a corner first, then gently rub in small circles and check often. A kneaded eraser you knead between your fingers stays soft and picks up far more wax than a hard school eraser dragged back and forth.
Method 2: Blot and Lift the Wax (Paper Towel or Cloth)
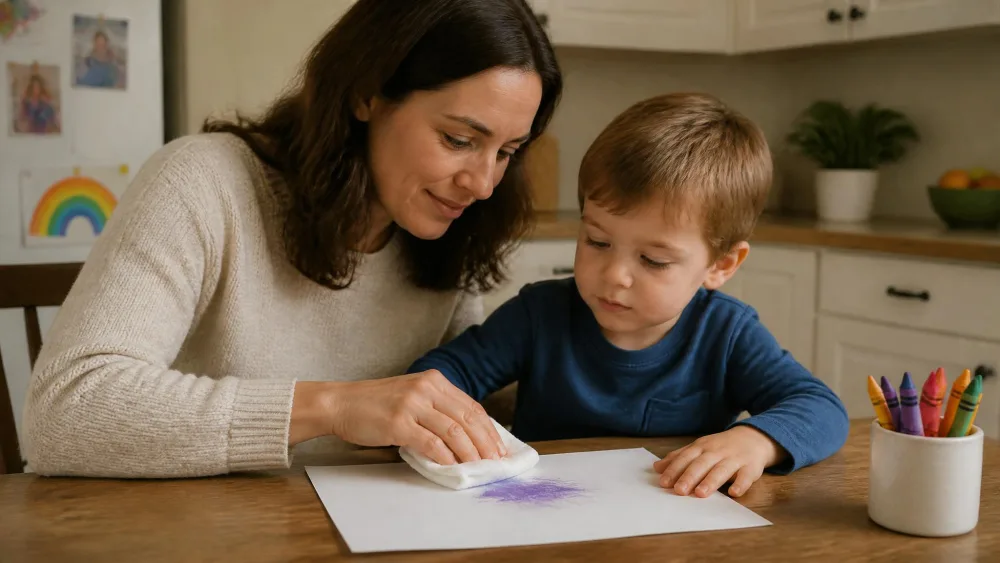
For fresh or heavier marks, blotting removes wax before you ever touch the fibers with an eraser. Press a clean paper towel or cloth straight down onto the mark, without rubbing, so some of the wax transfers up into the absorbent cloth.
The trick is to keep moving to a fresh, clean section of cloth. If you press the same wax-loaded spot back down, you just smear the crayon right back onto the page. We fold the towel to a clean face after every couple of presses and keep going until very little transfers.
Method 3: Gently Scrape Off Excess Crayon
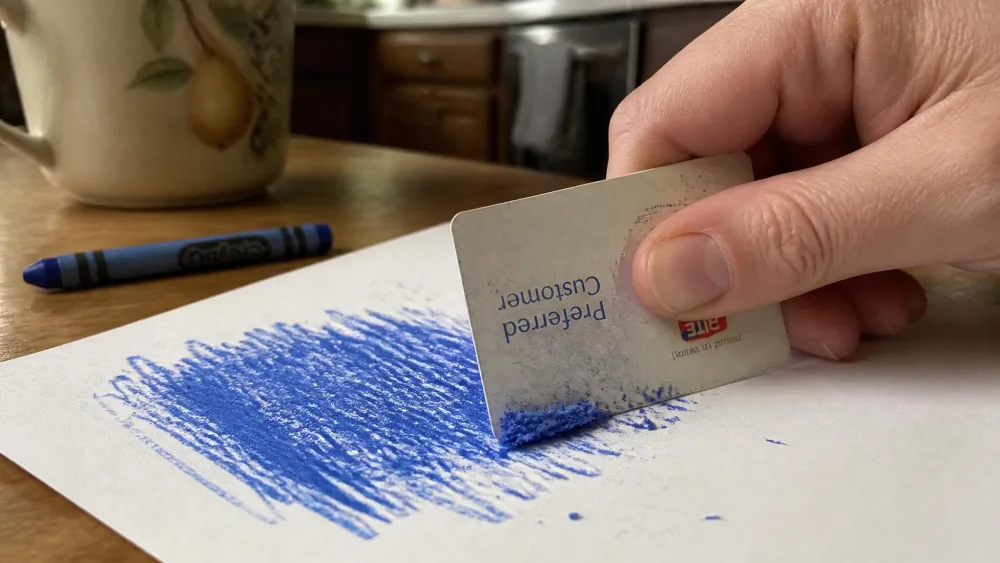
When a child really leaned in and left a thick, waxy ridge, scraping off the excess first makes every other method easier. Use a dull tool: a plastic spoon edge, a plastic scraper, or the edge of an old credit card.
Hold the tool at a shallow angle and work in one direction, lifting the top layer of wax without gouging the paper. Light, repeated passes beat one hard scrape. This step suits sturdier paper better than delicate sheets, since thin paper tears if you press too hard.
Method 4: Warm It Up With an Iron or Hair Dryer
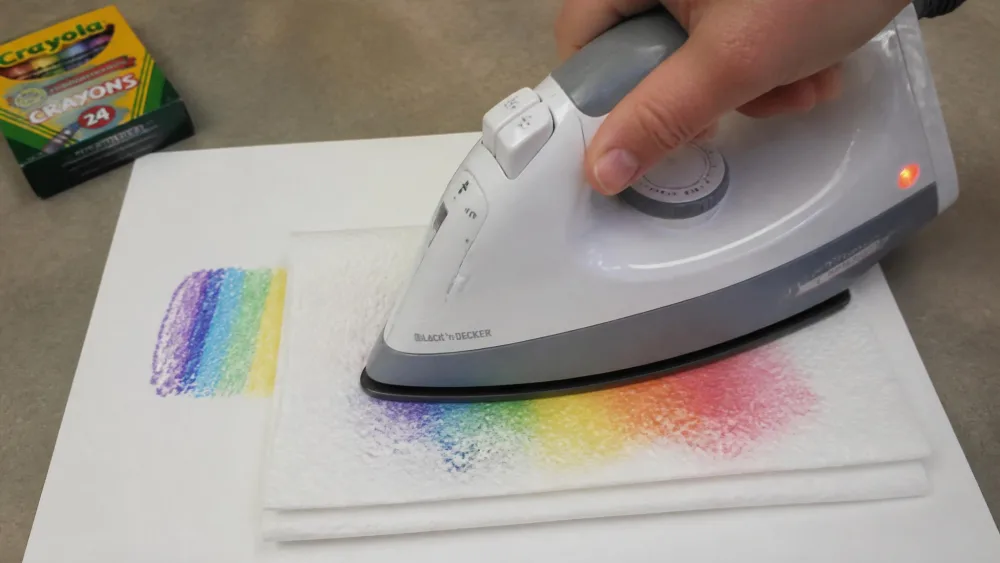
Heat can melt the wax so it wicks up out of the page, but this is the one method to approach with real caution. Lay a few folded paper towels over the crayon mark, set an iron to its lowest setting with no steam, and press for just a few seconds. The melted wax soaks up into the towels. Lift to check, move to a clean towel section, and repeat until nothing more transfers.
A hair dryer is the gentler cousin. Warm the mark to loosen the wax, then gently lift the softened crayon with a plastic tool or card edge.
Here is the honest catch, and why we do not reach for heat first. On thin, absorbent paper, warmth can push the wax deeper into the fibers and set the stain permanently, making things worse instead of better. Treat the iron as a judgment call for sturdier paper, not a default move.
Watch outHeat is a real risk on paper. Keep the iron on its lowest setting with no steam, never leave it in place, and skip it entirely on thin or precious sheets. Too much heat scorches the page and can drive the wax deeper. An adult should always handle the iron, well away from little hands.
Method 5: Dab With a Little Rubbing Alcohol
Rubbing alcohol can dissolve wax that nothing else will lift, but the paper cannot take a soaking. Test a corner first. Then put a small amount on a cotton swab or cloth and dab the mark, blotting straight after with a dry cloth.
The key word is dab, not rub. Use just enough alcohol to lift the wax without wetting the page through. If you soak the paper it will pucker, weaken, and tear. Repeat the dab-and-blot rhythm a few times rather than reaching for more liquid. This same gentle approach lifts stubborn metallic crayon, which responds well to a little alcohol on a clean cloth.
Watch outRubbing alcohol has fumes, so open a window and keep the bottle away from children while you work. Stick to plain rubbing alcohol and never step up to stronger solvents like lighter fluid on paper.
Which Method Works Best for Your Paper Type
Not every method suits every page. Coated and glossy paper forgives more aggressive tricks, while thin drawing paper wants the softest touch you have. Here is how we match the approach to the surface:
| Method | Best paper type | Difficulty | Damage risk |
|---|---|---|---|
| Soft or kneaded eraser | Any paper; gentle on thin sheets | Easy | Low |
| Blot with cloth or towel | Fresh, heavy marks | Easy | Low |
| Gentle scraping | Thick wax on sturdy paper | Medium | Medium (gouge or tear) |
| Warm iron and paper towel | Sturdier, heat-tolerant paper | Medium | Medium (scorch) |
| Rubbing alcohol (dab) | Coated or cardstock; test first | Medium | Medium (soak or pucker) |
| Baking soda paste | Sturdy or non-paper surfaces | Medium | High on thin paper |
Baking soda paste gets a mention here, though we keep it off delicate drawing paper. Mixed with a little water and rubbed gently with a cloth, it can help on sturdier or non-paper surfaces, but it is too wet and abrasive for thin sheets.
Tips to Avoid Tearing or Staining the Paper
Most ruined pages come down to a handful of habits, and they are easy to fix once you know them. The four most common ways people tear the page are rubbing instead of dabbing, using a hard eraser, pressing too hard, and simply working too fast.
So slow down and let the method do the work. Start gentle and only escalate if you need to. Keep swapping to a clean patch of cloth so you lift wax instead of spreading it. And remember the realistic goal: because crayon wax embeds in the fibers, you are aiming to lighten the mark, not to make the page look untouched.
Parent tipBefore you touch the visible mark, practice your pressure on a scrap of the same paper or a hidden corner. A bit of patience on a test spot saves the whole drawing.
Getting Crayon Off Other Surfaces
Paper is the fussy one. Most other surfaces around the house take a firmer hand and a damp cloth, and we have full walkthroughs for each. If the crayon has wandered off the page, head to the right guide:
- Painted walls respond to a damp cloth and the right gentle cleaner. See our guide to getting crayon off walls without stripping the paint.
- Upholstery needs patience and the right blotting order. Here is how to get crayon off a couch.
- For sealed and raw timber alike, our notes on removing crayon from wood cover both.
- Clothes and linens have their own trick. Read how to get crayon out of fabric.
- And for the living-room disaster, we walk through removing crayon from carpet fiber by fiber.
If you are back to the primary problem, our companion piece on how to remove crayon from paper goes even deeper on saving a drawing.
How to Prevent Crayon Marks Next Time
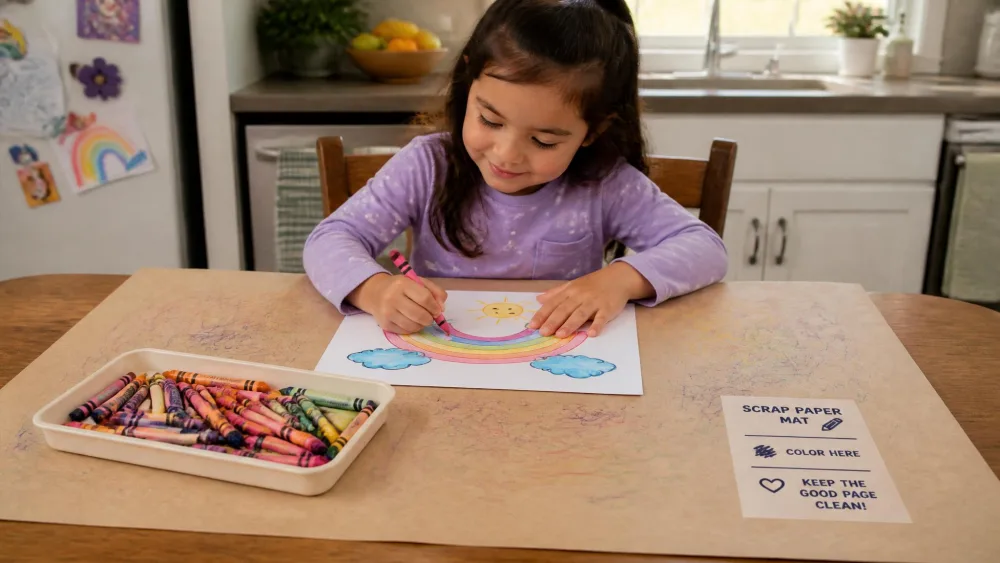
The easiest crayon mark to erase is the one that never lands. In our homeschool days we keep a wide sheet of scrap paper or an old placemat under whatever the kids are working on, so a stray stroke hits the mat, not the table or the good page. A shallow tray corrals loose crayons and stops them rolling onto finished art.
Washable crayons are worth the small upgrade for younger children, since they lift far more easily from most surfaces if a line strays. And a simple house rule helps most of all: crayons stay at the table. When the coloring stays in one spot, so do the marks.
Frequently Asked Questions
Can you fully erase crayon from paper?
Usually not completely. Crayon wax embeds in the paper fibers, so the realistic goal is to lighten and reduce the mark rather than make it vanish. Crayola itself says it does not manufacture a product that removes crayon from paper, and recommends a kneaded eraser as something that may help.
Does an iron or hair dryer remove crayon from paper?
It can. Low heat under a stack of paper towels melts the wax so it wicks up into the towels. But heat is risky on thin paper, where it can drive the wax deeper and set the stain, so use the lowest setting with no steam, test first, and save it for sturdier sheets.
How do you remove crayon from walls without damaging the paint?
Walls are far more forgiving than paper. A damp cloth with a gentle cleaner usually lifts crayon from painted walls with light circular pressure. Our full guide on getting crayon off walls walks through the safest options for different paint finishes.
What removes metallic or washable crayon?
Metallic crayon lifts with a small amount of rubbing alcohol on a clean cloth, rubbed gently until the mark fades. Washable crayon is the easiest of all and often comes up with a damp baby wipe or cloth alone.
Will baking soda or vinegar work on paper?
Baking soda paste can help on sturdier or non-paper surfaces, but it is too wet and abrasive for thin drawing paper and can leave it puckered or torn. On delicate pages, stick to a soft eraser, careful blotting, and patience.
Conclusion
Erasing crayon from paper is really about lowering your grip and your expectations at the same time. Start with a soft or kneaded eraser, move up to blotting and gentle scraping if you need more, and reserve heat and rubbing alcohol for sturdier pages and careful testing. For a deeper dive on any specific tool, Crayola's crayon stain-removal tips are worth a look.
You may not get the page perfectly clean, and that is fine. In our house, lifting a stray streak enough that the drawing shines again is a win worth the few patient minutes. Work slowly, keep a clean cloth handy, and most crayon marks will fade far more than you expect.