How to Get Crayon Off Wood: 9 Easy Methods That Work
Around our house, crayon on the kitchen table shows up more often than we'd like. The good news is that crayon on finished wood is one of the friendlier messes you'll deal with as a parent. It's just colored wax sitting on top of the seal, so it lifts off with things you already have in the kitchen. Most marks clear in about ten minutes.
We test kids' art supplies at the kitchen table with our own two, so we've cleaned crayon off wood more times than we can count. Below are nine methods we reach for, sorted from gentlest to strongest, plus the cautions that keep you from trading a crayon mark for a dull spot.
First, Identify Your Wood Finish (Sealed vs. Unfinished)
Before you grab anything, figure out what you're working with. The single biggest mistake we see is skipping this step and reaching straight for a solvent. Matching the method to the finish matters more than which product you grab.
Here's a quick check. Put a drop of water on a hidden spot, like the underside of a table leg. If it beads up tightly, the wood is sealed with polyurethane or lacquer and can handle more. If the water spreads out or soaks in, the surface is oil, wax, or bare wood, and it's far more sensitive to anything solvent-based.
NoteSealed finishes are resilient and forgiving. Oil-finished, wax-finished, and bare wood are thirsty and delicate, so they need the gentlest methods and always a patch test first.
What You'll Need
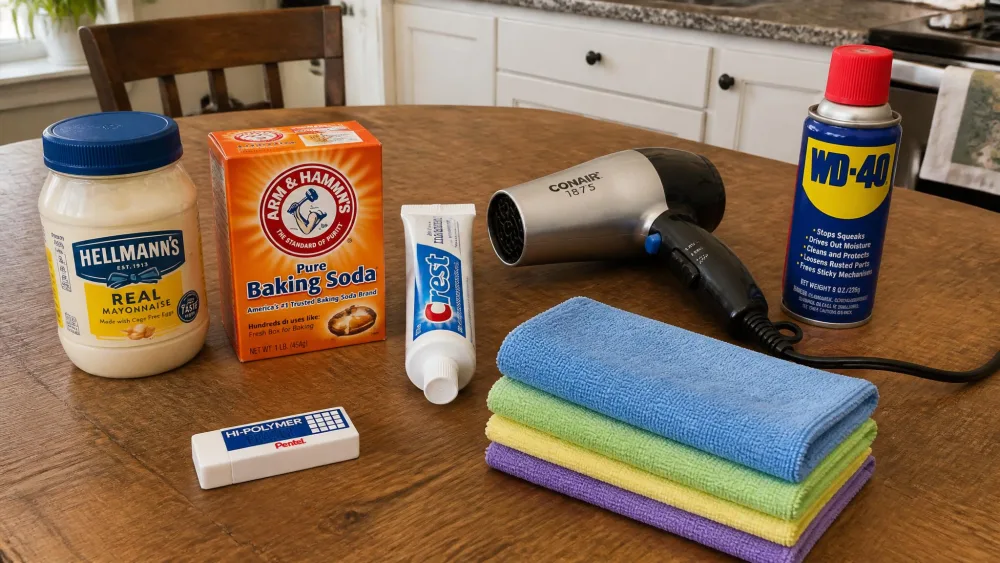
Most of these fixes use pantry and bathroom staples. Gather what you have before you start.
- A stack of soft or microfiber cloths and a few paper towels
- Mild dish soap and warm water
- Baking soda, mayonnaise, and plain non-gel white toothpaste
- A hair dryer, a white plastic eraser, and a melamine (Magic Eraser) sponge
- Rubbing alcohol, white vinegar, and WD-40 or Goo Gone for stubborn spots
9 Easy Ways to Remove Crayon From Wood
Start with the gentlest option that fits your finish and only step up to solvents if the mark won't budge. In our experience, repeated gentle passes beat one hard scrub every time. Bearing down is what dulls a glossy finish, not the crayon.
1. Mayonnaise
Mayonnaise feels like a strange thing to smear on furniture, but the oil in it dissolves the wax. Spread a thin layer, about a quarter inch, over the crayon and let it sit. Light marks lift in as little as 5 minutes, while heavier, set-in marks need closer to 20. You can cover it with plastic wrap to keep it in place.
Wipe with a soft cloth, and here's the catch we learned the hard way: you then have to clean up the greasy film with a damp cloth and a little dish soap, or the spot looks worse than the crayon did.
Watch outSave mayo for sealed or factory finishes. On natural oil- or wax-finished wood, the extra oil can darken the surrounding surface unevenly.
2. Baking Soda Paste
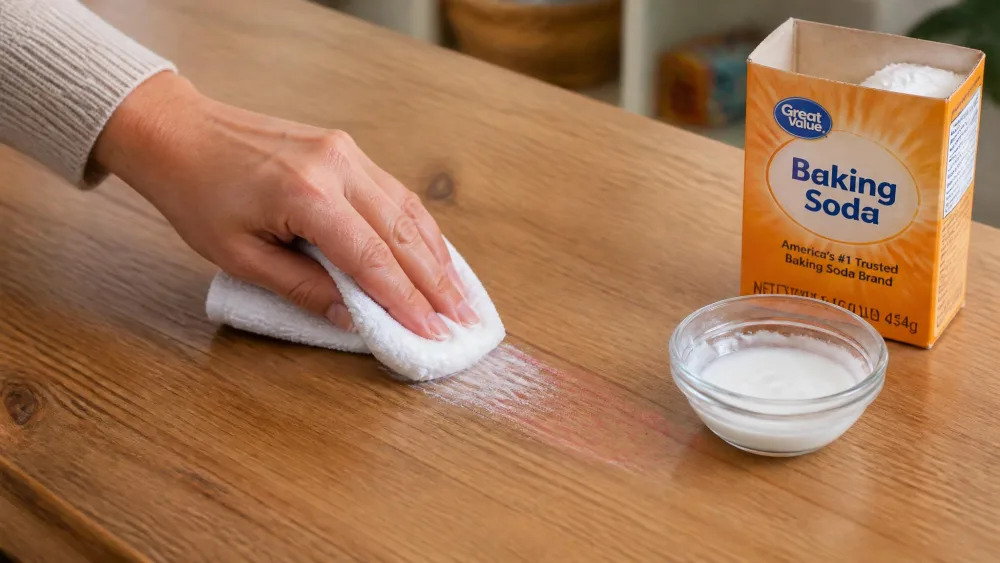
Baking soda is a mild abrasive, which makes it great for marks that have set. Mix a paste of roughly 3 parts baking soda to 1 part water. Apply it with a soft cloth, working along the grain with light pressure, then wipe with a damp cloth and dry.
The one rule we never break: don't let it sit. Baking soda left sitting on wood can permanently change the color. It's meant to be worked in and wiped off, not soaked. For stubborn spots, the American Cleaning Institute recommends a nonabrasive cleaner first, then a baking-soda-and-water paste.
3. Non-Gel White Toothpaste
Toothpaste works, but only the plain white paste. The gel and colored "whitening" tubes sitting in most bathrooms do nothing on crayon, so check the tube before you start.
Dab a pea-sized amount on a damp cloth or an old toothbrush. Work the marks gently in small circles, then rinse with a moist cloth and dry the spot.
4. Hair Dryer and Soft Cloth
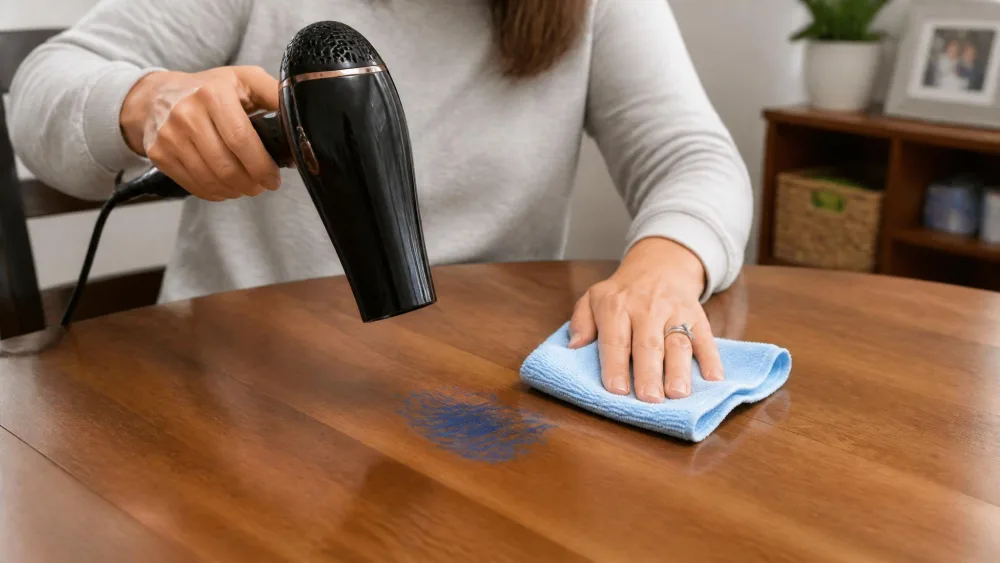
This is our favorite first move on a finish we're unsure about, because it's chemical-free. Hold the hair dryer on medium heat about 4-6 inches above the crayon for 30-60 seconds to soften the wax. Then wipe immediately, working from the outside toward the center so you don't spread it.
Keep the dryer moving the whole time. Held too close or on high heat, it can leave a cloudy white spot in the finish, and that's harder to fix than the crayon ever was.
Watch outUse medium heat, never high. Too much heat can soften lacquer, warp veneer, or create a cloudy patch. Keep the nozzle moving back and forth.
5. Dish Soap and Warm Water
Dish soap breaks down the waxy film on its own, no special products needed.
Mix a few drops of mild dish soap into warm water, dampen a soft cloth, and wipe the crayon away. On sensitive or bare wood, wring the cloth out well so you're using as little water as possible.
6. Pencil or Rubber Eraser
For light, fresh marks, a plain eraser is often all it takes. Rub gently along the grain with a white plastic or vinyl eraser, like a white Hi-Polymer eraser. Skip the pink erasers, which can leave their own residue behind. Wipe the eraser clean often so you're not just moving wax around.
Parent tipA dryer sheet rubbed over light marks is a surprisingly effective, gentle option most people don't expect to work. Keep it in mind for faint smudges.
7. Magic Eraser
A melamine sponge, sold as the Magic Eraser, handles marks the softer methods leave behind. Dampen it in warm water and patch-test a hidden spot first. Then press with light-to-firm pressure in small circles along the grain until the mark lifts.
Go easy. Melamine is finely abrasive and can dull or scratch a glossy finish if you scrub hard. Light pressure and patience win here.
8. Rubbing Alcohol or White Vinegar
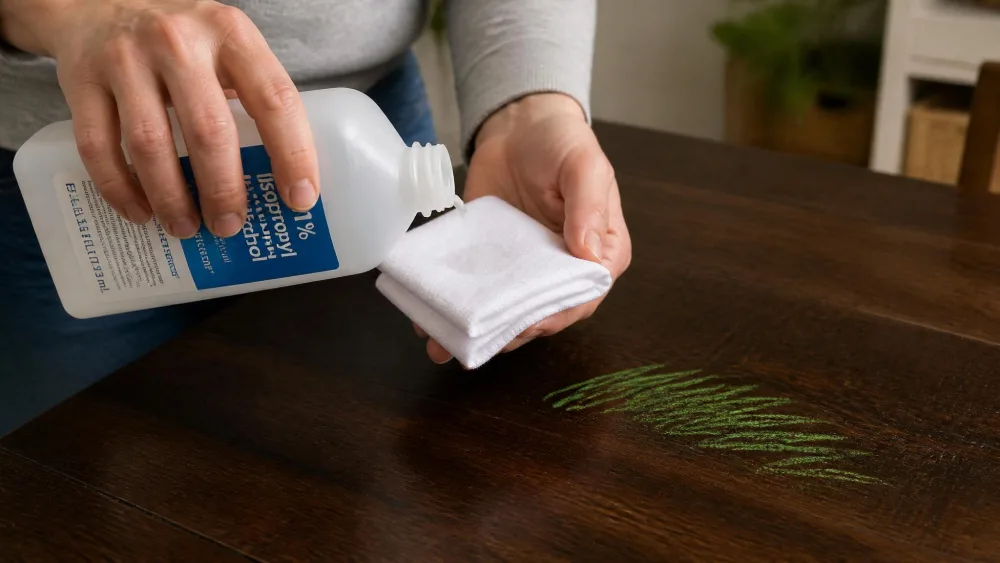
When wax won't let go, a solvent breaks it down fast. Dab isopropyl rubbing alcohol onto a cloth, never directly onto the wood, and wipe the marks in small sections. White vinegar is a milder alternative.
One warning that surprises people: vinegar is the one "gentle" pantry item that can actually harm a finished surface. It's acidic and can dull some finishes, so it earns a patch test even though it feels harmless.
9. WD-40 or Goo Gone for Stubborn Marks
For the marks that laugh at everything else, WD-40 or Goo Gone will usually finish the job. Spray WD-40 onto a rag, not directly onto the wood, and dab the marks. The wax dissolves in about a minute or two. Then clean off the oily residue with dish soap and water.
Spraying straight onto the wood is a common misstep. Putting the product on the cloth first keeps it off the surrounding finish, which is exactly where you don't want an oily haze.
Watch outWD-40's own guidance is written for walls and says to spray directly onto the mark. On wood, spray onto the rag instead. Avoid WD-40 and Goo Gone on oil- or wax-finished wood, where they can stain or soften the surface, and always patch-test. Goo Gone can soften thin lacquer if left on more than a couple of minutes, so wipe promptly. For more, see This Old House on WD-40 best practices.
How to Remove Crayon From Unfinished or Bare Wood
Bare and unfinished wood is a different animal. Without a seal on top, wax and any liquid you use can soak into the grain, so your margin for error is smaller. Skip the oil and solvent methods here, since mayonnaise, alcohol, vinegar, and WD-40 can all stain or darken raw wood.
Start with the hair dryer, since heat is chemical-free and pulls the softened wax up rather than pushing it in. Follow with a gentle eraser or a barely-damp cloth. If a shadow remains, a light baking soda paste worked briefly along the grain can help, but wipe it off right away and keep water to a minimum.
On bare wood, the goal isn't a heavy scrub. It's to lift the wax off the surface before it ever soaks into the grain.
How to Remove Melted Crayon From Wood
Melted crayon looks alarming but follows the same wax logic. Don't scrape at it with anything sharp, since that gouges the finish.
Instead, warm it back up. Run the hair dryer on medium at that same 4-6 inch distance to re-soften the wax, then lift it away from the outside in with a cloth or paper towel. Repeat in gentle passes until the bulk is gone, then follow with dish soap and water to clear the last film. The same trick works on other surfaces too, and it's close to how we remove melted crayon from clothes.
What to Avoid (Protecting the Finish)
A few habits turn a five-minute cleanup into a repair job:
- Don't skip the finish check. It's the mistake that leads to all the others.
- Don't bear down. Repeated light passes lift crayon; hard scrubbing dulls the finish.
- Don't let baking soda, mayo, or Goo Gone sit longer than the directions say.
- Don't spray solvents directly on the wood. Apply them to the cloth.
- Don't reach for solvents on oil, wax, or bare wood without a patch test.
NoteWhen we test a new method, we always try it on the underside of a table or the back of a chair leg first. Thirty seconds of patch-testing has saved us from more than one permanent spot.
How to Prevent Crayon Marks on Wood
The easiest crayon mark is the one that never happens. The simplest fix in our home has been switching the kids to washable crayons, which lift far more easily from wood and most surfaces. A plastic tablecloth or a big sheet of butcher paper under coloring projects catches the strays before they reach the table. Storing crayons away from sunny windowsills and heat vents keeps them from melting, too. If crayon keeps ending up on walls too, our guide to getting crayon off walls covers those surfaces.
Frequently Asked Questions
How do you get crayon off painted wood?
Treat painted wood like a sealed finish, but gentler, since paint scuffs more easily than polyurethane. Start with warm water and a few drops of dish soap on a soft cloth, then try a barely-damp Magic Eraser with very light pressure. Skip abrasives and strong solvents like WD-40 and alcohol, which can lift or dull the paint. Always test a hidden corner first.
Is it safe to use a hair dryer on finished wood?
Yes, as long as you use medium heat, hold it 4-6 inches away, and keep it moving. The risk isn't the heat itself but concentrating it in one spot, which can soften lacquer or leave a cloudy patch. Wipe the softened wax away promptly and don't linger.
Does a Magic Eraser scratch the finish?
It can. Melamine sponges are finely abrasive, so hard scrubbing may dull or scratch a glossy finish. Patch-test a hidden spot, use light pressure, and work in small circles along the grain. If it starts to look hazy, stop and switch to a gentler method.
When should you call a professional?
If crayon has set deep into raw wood, or a cleaning attempt left a dull or sticky spot you can't fix, it's worth a call. A professional restorer typically charges about $80-$200 per area for spot repair. A full refinish of a dining table runs roughly $400-$1,400, though that swings widely with size, wood type, and where you live.
Final Thoughts
Crayon on wood really is one of the more cooperative messes parents face, because in the end it's just wax. Check your finish, start gentle, and step up only if you need to. Nine times out of ten, a soft cloth and something from the kitchen has the mark gone in about ten minutes, with the wood looking just the way it did before the coloring started.