How to Get Crayon Off a Chalkboard: 7 Easy Methods That Work
If a crayon has found its way onto your chalkboard, you already know a dry eraser does almost nothing. The wax just smears and settles deeper, and the board looks worse than when you started. Fear not, because the marks are far more removable than they first appear.
We cleaned a lot of crayon off our own kitchen chalkboard while homeschooling, and we learned which methods actually lift the wax and which only push it around. Below are seven easy methods, ordered from gentlest to most heavy-duty, so you can start soft and escalate only if you need to.
We tested these methods over about two weeks at our own kitchen-table chalkboard, working on real crayon marks left by our two kids. The mess we scrubbed off was made by a five-year-old and an eight-year-old drawing where they shouldn't, so what you read here reflects everyday toddler-and-elementary crayon, not staged smears.
Why Crayon Is So Hard to Get Off a Chalkboard
Crayon is wax-based, so when it drags across a chalkboard it melts slightly and clings to the porous surface. That is why a dry eraser or a plain damp cloth alone usually will not lift it. The wax fills the tiny pores that normally hold chalk dust, and it needs a gentle abrasive or a solvent to break its grip. Happily, most of what you need is already in your kitchen, and the right method depends mostly on how fresh the mark is.
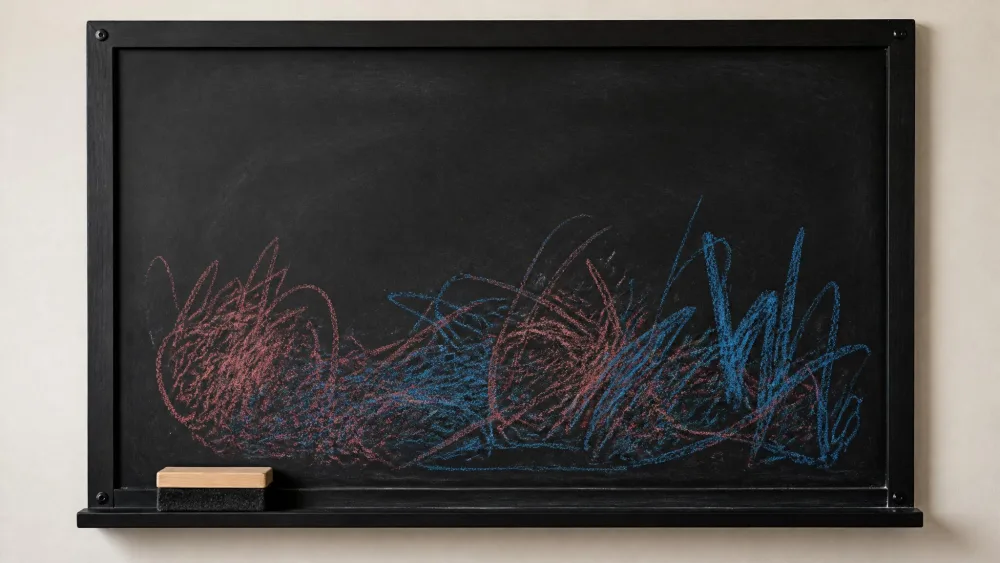
Before You Start: Spot-Test and Surface Safety
Chalkboards are not all the same. You might have painted board, slate, metal, or a chalkboard-painted wall, and solvents behave differently on each. Test any solvent or abrasive on a hidden edge first, and check that the finish does not lighten or soften.
Two prep steps save you trouble. Scrape off thick excess crayon with a plastic scraper or an old credit card so you are not just smearing wax around. Then rub in small circular motions with light pressure, never hard back-and-forth scrubbing.
Parent tipA chalkboard eraser with firm pressure is often the quickest thing to try first. A fresh, light mark sometimes lifts with nothing more than that.
Method 1: Baking Soda Paste
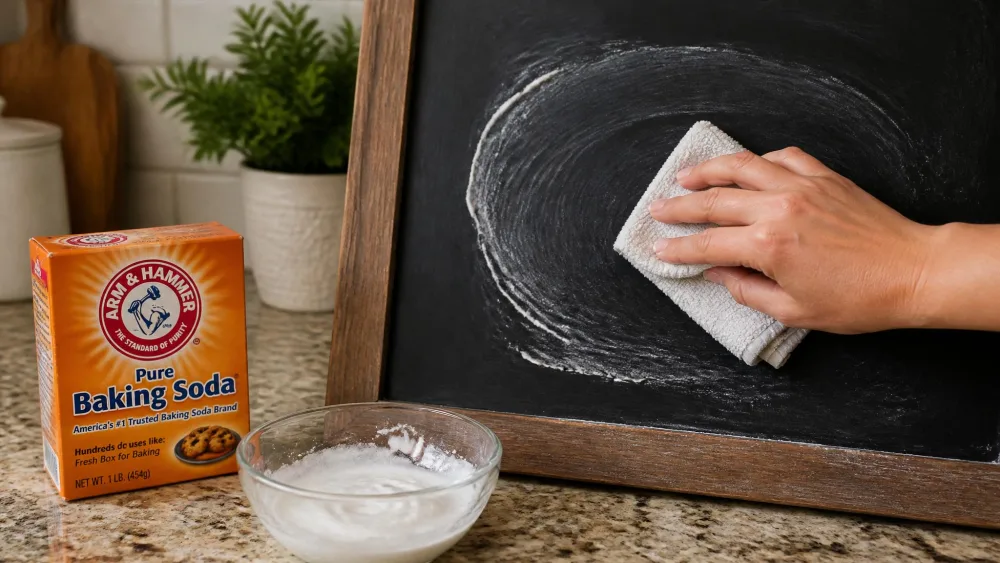
Baking soda is our go-to for everyday marks. It gives gentle abrasion that scrubs the wax loose while staying kind to the surface.
What You'll Need
- Baking soda
- A little water
- A soft cloth
- A second clean, damp cloth
Step-by-Step
Mix a paste using about 3 parts baking soda to 1 part water, aiming for a spreadable, icing-like consistency. Dab it onto a soft cloth and rub the crayon gently in small circles. Once the mark lifts, wipe the residue away with a clean damp cloth and let the board air-dry.
Method 2: White Vinegar
White vinegar is a mild acid that softens fresh wax, and it is our pick for light or recent marks.
Step-by-Step
Mix white vinegar and warm water in a simple 1:1 solution and dampen a cloth with it. Wipe the crayon in circular motions, refreshing the cloth as it picks up color. Wipe rather than letting the vinegar pool, since sitting solvent can soften chalkboard paint. The smell is noticeable up close, so open a window if it bothers you.
Method 3: Dish Soap and Warm Water
This is the gentlest method of all, and a fine first attempt on fresh, light crayon. It is the weakest option on set-in wax.
Step-by-Step
Add a squirt of dish soap to a bowl of warm water and swirl it into suds. Wet a soft cloth, wring it out, and wipe the marks in gentle circles. Follow with a clean damp cloth to rinse, then let the board dry.
Method 4: Melamine Foam (Magic Eraser)
When a mark shrugs off the pantry methods, melamine foam is the next step up. A damp Magic Eraser acts like an ultra-fine sandpaper and takes stubborn crayon marks off quickly.
Step-by-Step
Dampen the melamine foam and squeeze out the excess water. Rub the crayon gently with light pressure, checking your progress often. The key word is gentle, since too much pressure strips the finish and leaves a lighter or shiny patch.
Watch outGo easy with melamine foam. Scrubbing too aggressively removes the surface finish and leaves a permanent lighter spot, which is harder to fix than the crayon was.
Method 5: Toothpaste (Non-Gel)
Ordinary non-gel toothpaste hides a mild abrasive, which makes it handy for small, set-in spots. Skip the gel and whitening kinds.
Step-by-Step
Dab a little non-gel toothpaste onto the crayon and let it sit a couple of minutes. Scrub gently with a soft cloth or a soft-bristle brush in small circles. Rinse the spot with a clean damp cloth so no paste dries on the board.
Method 6: Heat (Hairdryer) for Melted Crayon
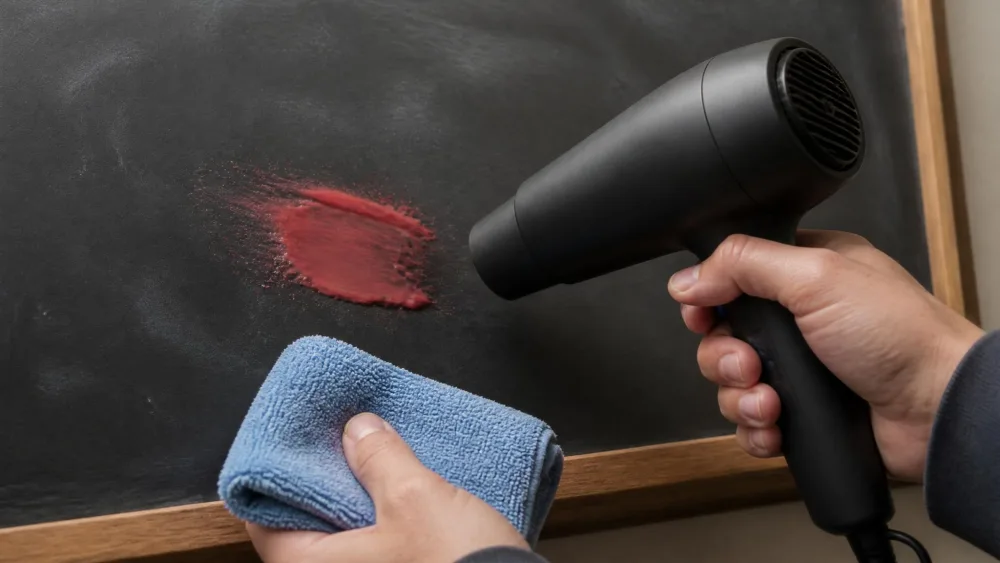
Sometimes the problem is melted, smeared crayon, and a little warmth makes it easier to wipe. A hairdryer on low softens the wax so it releases.
Step-by-Step
Hold the hairdryer on low a few inches from the mark and keep it moving so no single spot gets too hot. As the wax softens, wipe it away with a soft cloth, working from the outside inward. Repeat in short passes until it is gone.
A Word of Caution
Keep the heat gentle and never use it to dry the board afterward. Excess heat can warp or crack a chalkboard, and rough sponges can scratch it, so stick to soft materials.
Method 7: WD-40 (for Stubborn, Set-In Marks)
When crayon has truly set in and nothing gentler works, WD-40 is the heavy-duty finisher. It kinda melts the wax of the crayon, and in our experience the marks lift almost immediately once you start wiping.
Step-by-Step
Work in a well-ventilated area and lay down newspaper or a plastic sheet to catch drips. Spray a little WD-40 onto the crayon, let it sit briefly to loosen the wax, then wipe in a circular motion until the mark is gone. We tested this on a metal chalkboard, and results can differ on painted or slate surfaces, so spot-test first.
Watch outWD-40 is a solvent. Ventilate the room, protect the floor from drips, and keep it away from your eyes. Always test a hidden edge before spraying it across a painted or slate board.
Removing WD-40 Residue With Vinegar
WD-40 leaves an oily film behind, so a cleanup pass is essential. Wipe the board with a damp cloth first, and for any greasy residue, spray on a little vinegar, wait a couple of minutes, and wipe clean. A glass cleaner such as Windex with Vinegar and a microfiber cloth is what finally restored our board to a proper matte finish.
Also Worth Trying: Rubbing Alcohol
Rubbing alcohol is a lighter-duty option that sometimes lifts crayon on its own. Dab a little onto a cloth, rub the mark gently, then wipe with a clean damp cloth. On stubborn, set-in crayon dots it can fail on its own, which is why a spot-test and a willingness to escalate to WD-40 or melamine foam matters.
Which Method Should You Use? (Quick Comparison)
Match the method to the mark. Here is how the seven stack up at a glance.
| Method | Best for | Key caution |
|---|---|---|
| Baking soda paste | Everyday marks, gentle abrasion | Use a soft cloth; wipe residue |
| White vinegar (1:1) | Light, fresh marks | Don't let it pool; ventilate the smell |
| Dish soap + warm water | Fresh, light crayon | Weakest on set-in wax |
| Melamine foam (Magic Eraser) | Stubborn marks | Light pressure; can strip finish |
| Non-gel toothpaste | Small set-in spots | Mild abrasive; rinse after |
| Hairdryer heat | Melted, smeared crayon | Don't overheat; warp or crack risk |
| WD-40 | Set-in, stubborn marks | Ventilate; vinegar residue cleanup |
How to Prevent Crayon Marks on a Chalkboard
The easiest crayon mark is the one that never happens. In our home the simplest fix was setting clear rules about which surfaces are for chalk, and keeping the board wiped down regularly. Giving kids an obvious alternative helps just as much: a stack of paper or a designated drawing board nearby means the chalkboard stops being the most tempting blank canvas in the room.
Parent tipKeep real chalk within easy reach of the board and crayons stored elsewhere. When the right tool is the closest tool, the wrong surface gets used far less often.
When to Repaint or Reseason the Board
Sometimes the crayon lifts but the surface stays mottled, or the board has been wiped so many times that it looks tired. That is not a failure on your part, since boards eventually need resurfacing anyway. When that day comes, a fresh coat of chalkboard paint from any home-improvement store brings it back. Give it time to cure before you write again, and it will restore your board to a smooth, chalk-ready surface.
Frequently Asked Questions
What's the easiest way to remove crayon from a chalkboard?
Start with the gentlest method that fits the mark. A baking soda paste of about 3 parts baking soda to 1 part water, rubbed on with a soft cloth, lifts most everyday crayon without harsh chemicals. Escalate to a Magic Eraser or WD-40 only if the mark is truly set in.
Why is crayon so hard to get off a chalkboard?
Crayon is wax-based, so it melts slightly and clings to the porous surface, filling the pores that normally hold chalk dust. That is why a dry eraser won't shift it, and why you need a gentle abrasive or a solvent to break the wax's grip.
What household items can I use to get crayon off a chalkboard?
Baking soda, white vinegar, dish soap, non-gel toothpaste, and a hairdryer handle most marks. For stubborn crayon, a melamine foam eraser or WD-40 finishes the job. Rubbing alcohol is worth a try too, though it can fail on its own.
Will WD-40 or a Magic Eraser damage a chalkboard?
Both are safe when used carefully. Rub a Magic Eraser with light pressure, since too much scrubbing strips the finish. Ventilate the room with WD-40, spot-test first, and follow up with vinegar or glass cleaner to remove the oily film.
How do I stop crayon marks from coming back?
Set clear rules about which surfaces are for chalk, wipe the board regularly, and keep an easy alternative like paper within reach. Storing crayons away from the board and keeping chalk nearby makes it a much less tempting target.
Conclusion
Crayon on a chalkboard looks like a daunting task, but it rarely is once you match the method to the mark. Start gentle with baking soda or vinegar, step up to a Magic Eraser or a hairdryer for tougher spots, and keep WD-40 in reserve for the truly stubborn crayon marks. With a soft cloth, a little patience, and a spot-test first, you can lift the wax and restore your board.