8 Easy Watercolor Techniques for Kids (Step-by-Step)
Watercolor is the most forgiving paint a child can pick up, because a little water and a little color make something pretty land on the page almost on its own. It rewards curiosity more than control, which is why it suits kids of all ages.
We love how gentle the cleanup is, since compared to tempera, watercolor stays more contained, dries fast, and wipes up easily.
We do most of our painting at the kitchen table, usually with our two kids, ages 5 and 8. We have worked through all eight techniques below many times.
Watercolor Supplies You'll Need
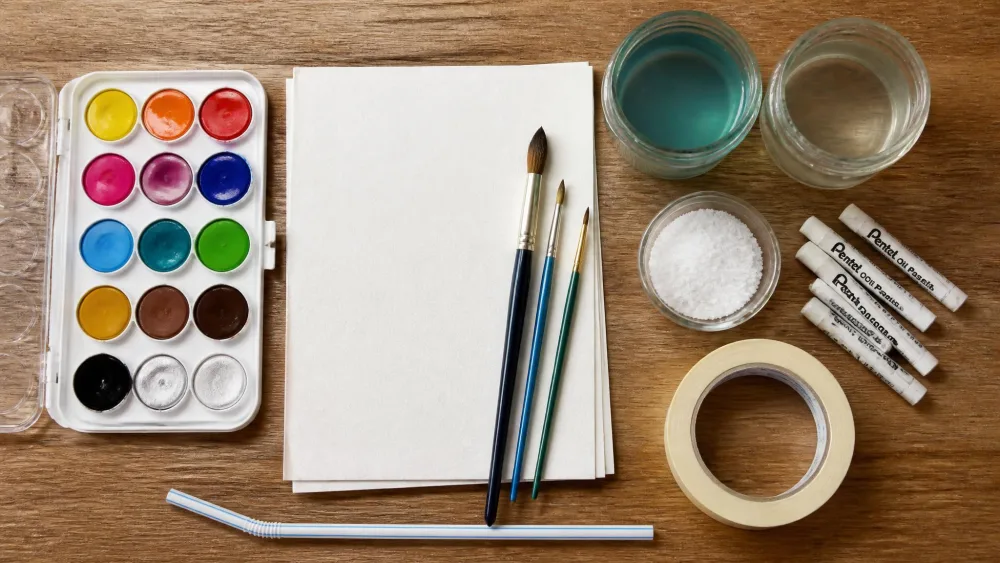
You do not need much to start, since a basic kit, some paper, and a few kitchen odds and ends cover every project here.
Best Watercolor Paints for Kids (Pan, Tube & Liquid)
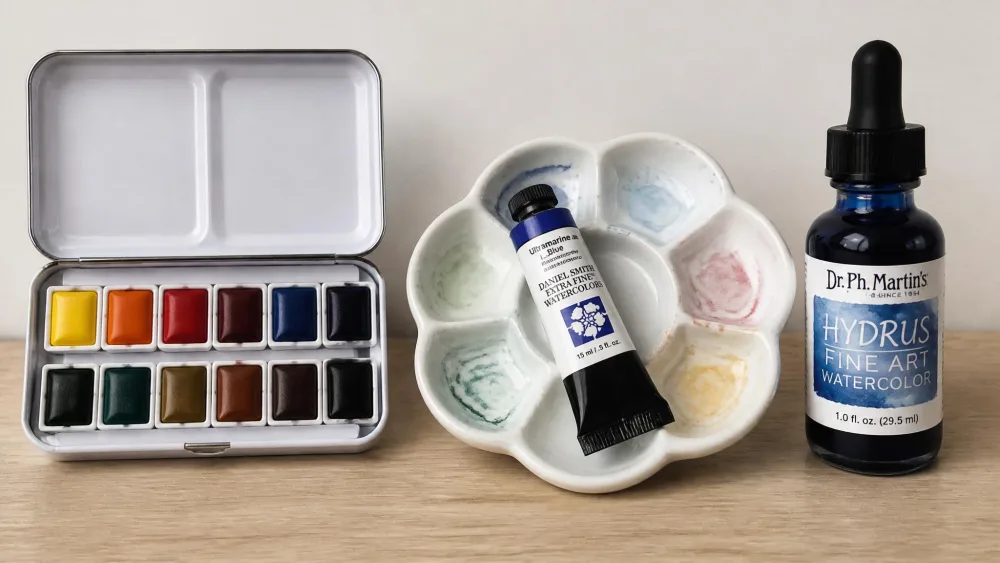
Watercolors for kids come in three forms. Pan or cake sets are solid blocks of color, the cheapest and most durable for daily use. Tube paints are a concentrated paste you mix on a palette. Liquid watercolors arrive pre-mixed and intense, dripped from a dropper and thinned with water.
For everyday painting we reach for a non-toxic pan set. Crayola and Prang both carry the AP seal, and their washable formulas rinse off skin and most surfaces. A cheap set is plenty for younger kids, while by elementary age a better set gives more vivid, encouraging results.
You can pick up a non-toxic, AP-sealed pan set for a few dollars, and it lasts a long time. For bold splatter and blow projects, keep a bottle of liquid watercolors on hand too.
Paper and Brushes
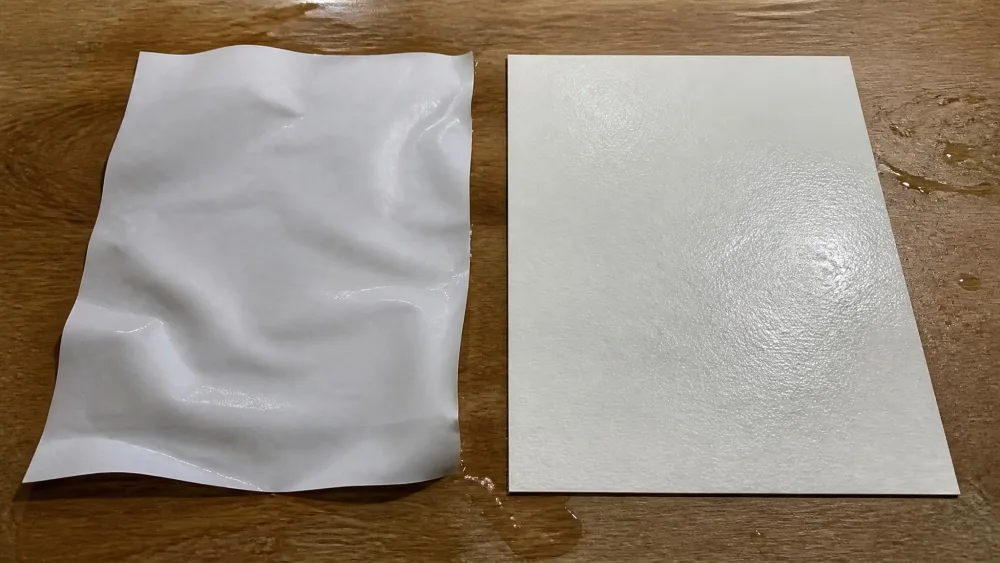
Paper is the one upgrade that truly matters, because regular printer paper buckles the moment it gets wet, while proper watercolor paper holds the water and stays flat.
Look for 140 lb (300 gsm) cold-press, which holds water without buckling or tearing. A pad of a 140 lb cold-press paper like the Canson XL lasts weeks. Lighter paper works in a pinch, though sources disagree on how light you can go, so heavier is safer.
For brushes, a round-and-flat brush variety pack covers everything. Use the flat brush for broad washes and the round for detail.
Bonus Materials for Techniques (Salt, Oil Pastels, Plastic Wrap, Tape)
The fun extras are mostly things you already own. Coarse or kosher salt, a white crayon or a box of white oil pastels, plastic wrap, stickers, painter's tape, and a drinking straw power the projects below. Add two water cups and something to cover the table.
| Item | What to Get | Price Range | Why It Matters |
|---|---|---|---|
| Watercolor paint | Non-toxic, AP-sealed pan set; liquid for bold color | Pan a few dollars; liquid about $5–$8 a bottle | Pan sets are cheap and durable; liquid gives intense color |
| Watercolor paper | 140 lb (300 gsm) cold-press pad, like the Canson XL | About $8–$18 a pad | Holds water without buckling; printer paper buckles |
| Brushes | Round and flat brush variety pack | About $5–$10 | Flat for washes, round for detail |
| Bonus materials | Salt, white crayon or oil pastels, plastic wrap, tape, a straw | Mostly on hand | Powers the salt, resist, wrap, and blow projects |
| Setup | Two water cups, palette, table covering | Free or repurposed | Two-cup rinse keeps colors clean; covering contains the mess |
Watercolor Basics: How to Get Started
A few habits make the whole session smoother, and we learned most of them the messy way.
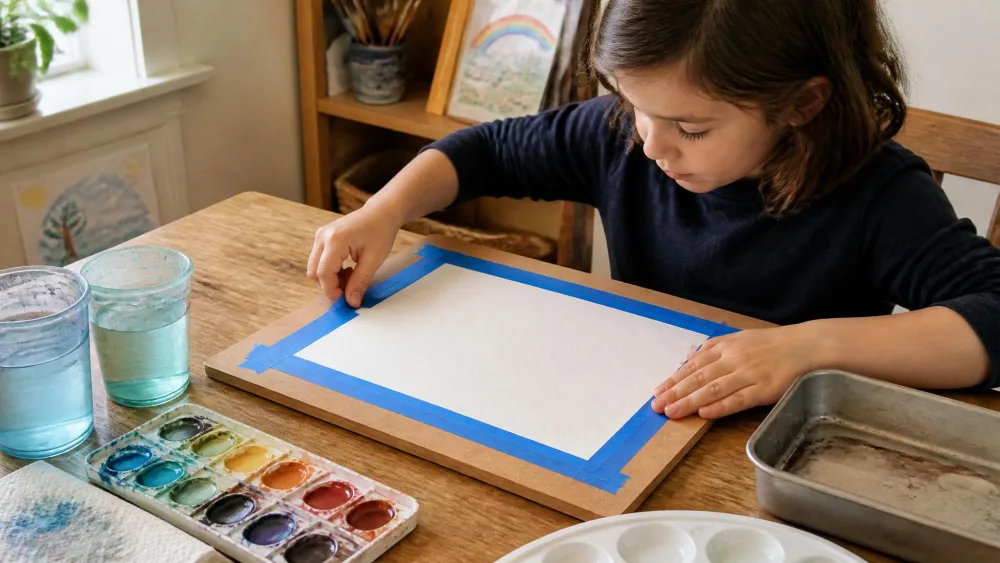
Tape the paper down to a board first, because without tape it slides around while kids paint, and the tape peels off to leave a clean white border.
Set out a two-cup rinse system, one to rinse the brush and one for clean water. When the rinse water turns cloudy, swap it, because muddy water makes muddy paintings and grumpy painters.
Remind kids to rinse between colors, because over-mixing on the paper turns everything brown fast. And watercolor dries lighter than it looks wet, so mix a shade darker than you think you need.
Parent tipCut big sheets into small four-by-five-inch pieces. A blank sheet feels daunting to a child, while a small piece feels quick and doable. A hairdryer speeds the drying between layers.
8 Watercolor Techniques for Kids
Start with the calm ones, then build up to the splattery, blow-through-a-straw kind.
1. Wet-on-Wet
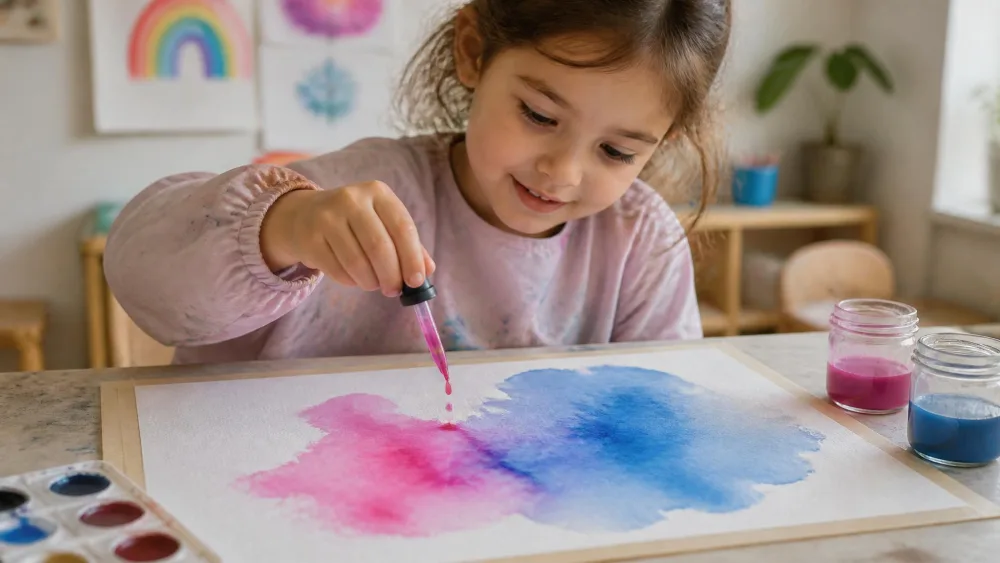
Wet-on-wet is where we start every new painter, since colors bloom and spread on their own, so it feels like a happy accident every time.
- Brush clean water over the paper until it is damp, not soaking.
- Touch a loaded brush of color to the wet paper and watch it spread.
- Rinse the brush, then drop in a second color and let the two blend.
2. Wet-on-Dry (Watercolor Wash)
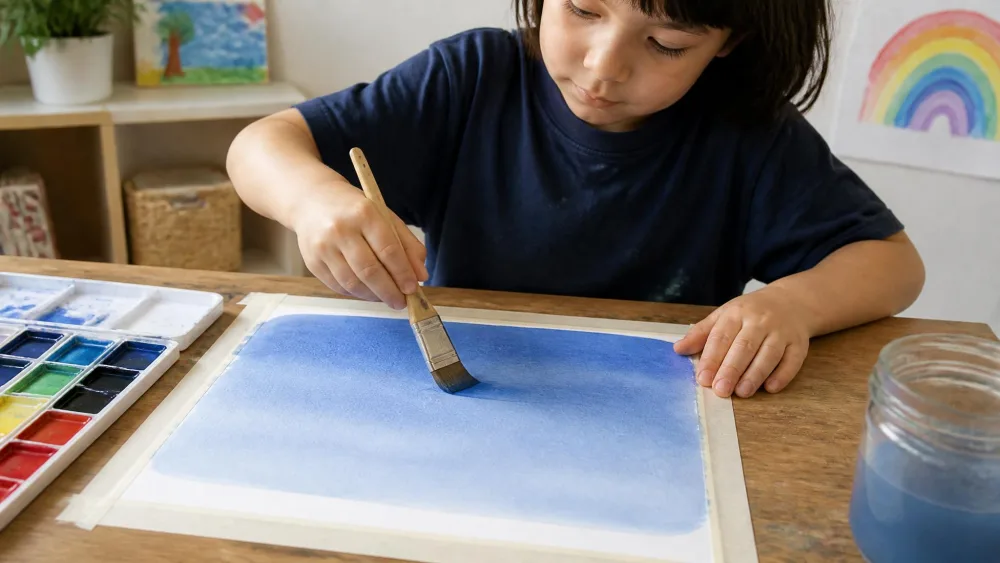
For more control, paint straight onto dry paper for flat, even coverage and crisp edges.
- Load the brush with water, then pick up concentrated color.
- Lay even strokes across dry paper, all in one direction.
- Work quickly so the strokes blend into one smooth, flat wash.
3. Salt Texture
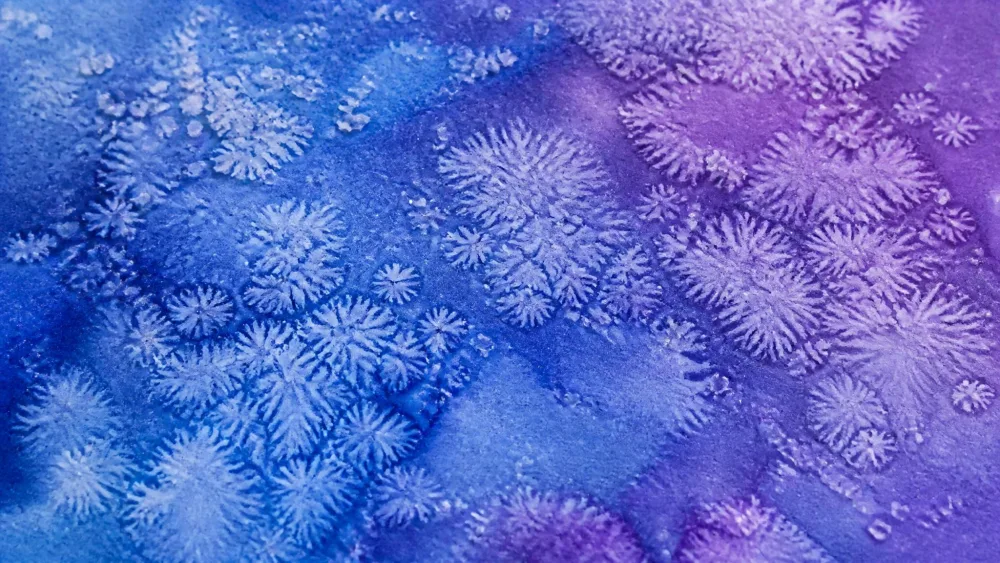
This is the project our kids ask for again and again, and it is always a hit. Salt soaks up the wet pigment and leaves a starburst, snowflake-like pattern.
- Paint a wet wash of color across the paper.
- While it is still wet, sprinkle salt over the surface.
- Leave the salt on until the painting is completely dry, then brush it off.
Coarse or kosher salt gives bolder texture than fine table salt. The salt has to stay put until everything dries, because lifting it early ruins the pattern. Like most texture tricks here, it only works while the paint is wet, so move fast.
4. Crayon or Oil Pastel Resist
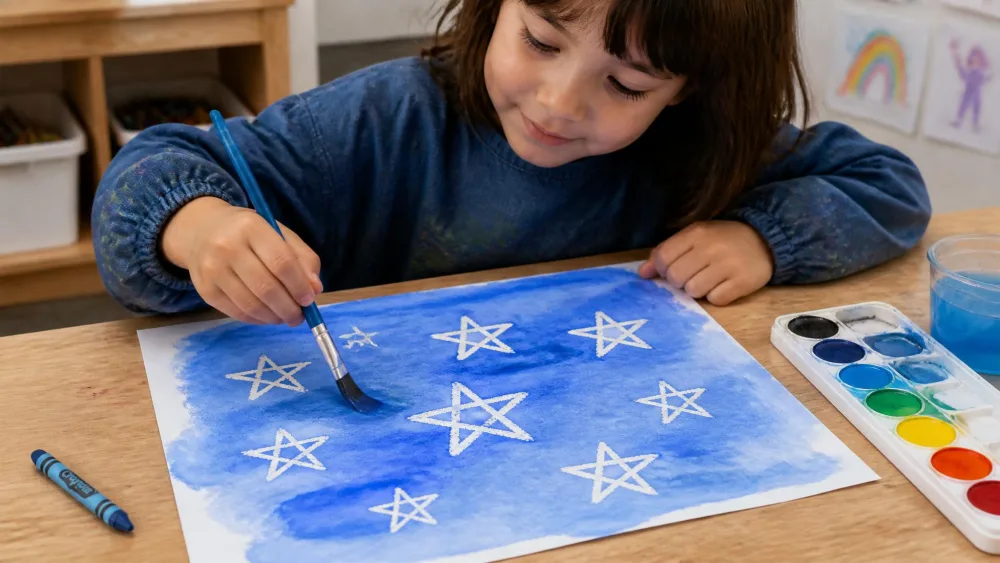
Resist painting feels like magic because a hidden drawing appears wherever the wax refuses to hold the watercolor.
- Draw a design with a white crayon or oil pastels on dry paper.
- Paint a watercolor wash over the whole sheet.
- Watch the drawing show through where the wax repels the paint.
5. Tape / Sticker Resist
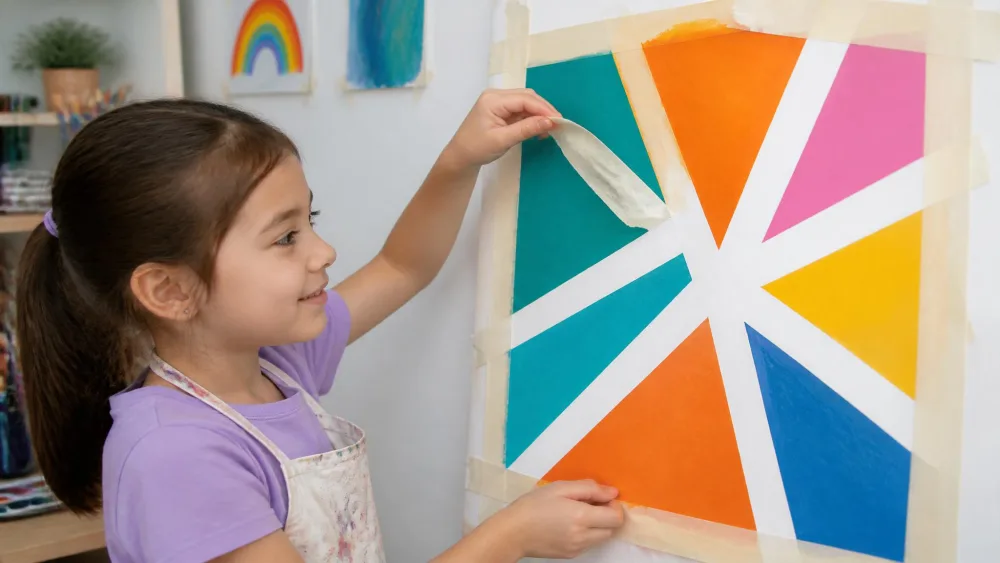
Tape and stickers do the opposite, leaving crisp white shapes where color cannot reach. It also teaches patience, because the reveal comes at the end.
- Press tape or stickers firmly onto the paper so the edges seal.
- Paint over the whole sheet, where wet-on-wet works well.
- Let it dry completely, then peel everything off to reveal sharp white shapes.
6. Splatter Painting
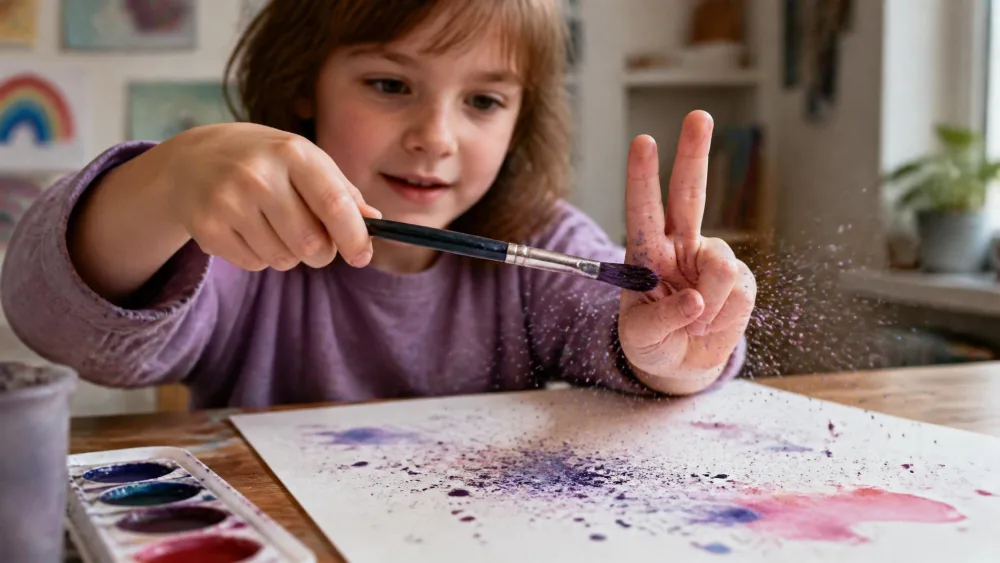
Splatter is loud, fast, and gleeful, so we save it for an already-covered table, and it works on wet or dry paper.
- Load a brush with watery color.
- Hold it in one hand and tap it across two fingers of the other.
- Let the speckles fly across the paper.
It does get messy, so cover the table and floor first.
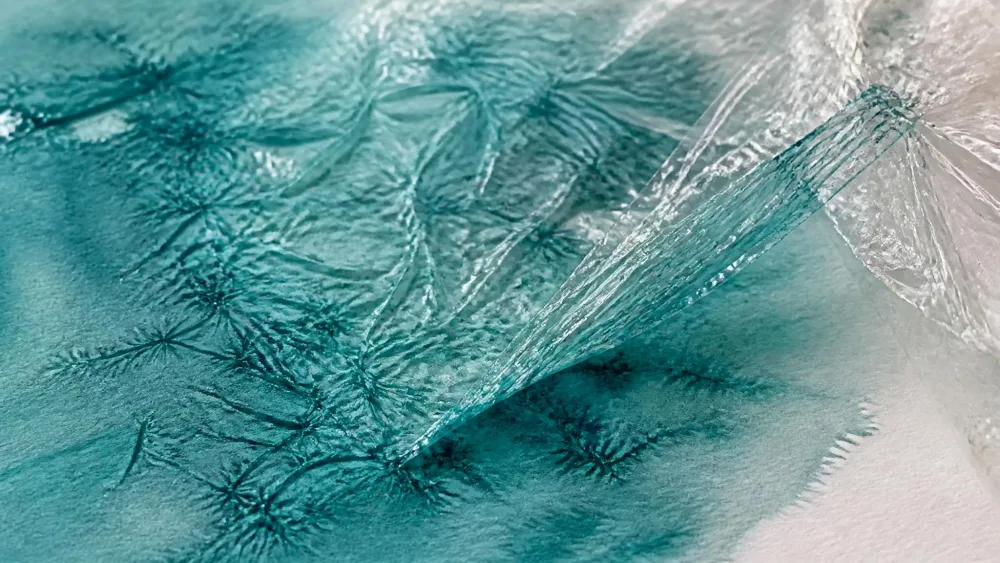
7. Plastic Wrap Texture
Plastic wrap leaves a crystalline, stained-glass pattern. It feels like a science experiment.
- Paint the paper wet-on-wet with rich color.
- Lay a crinkled piece of plastic wrap over the wet paint and scrunch it.
- Leave it until the paint is fully dry, then lift it off.
The ridges push the pigment into sharp, glassy lines, and as with salt, this works only while the paint is wet.
8. Blow Painting (with a Straw)
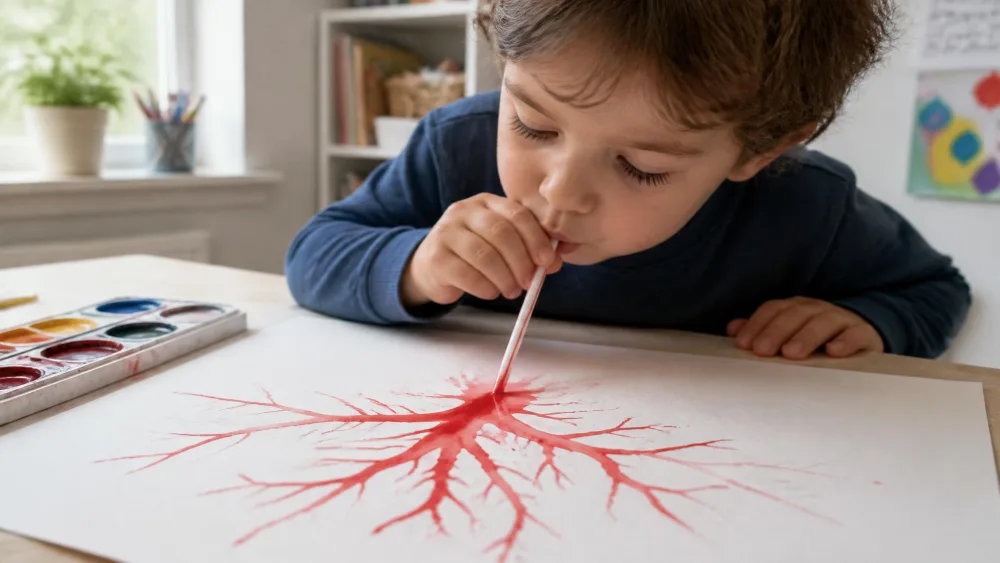
Blow painting turns a puddle of paint into branching, tree-like shapes, and liquid or very watery color works best.
- Drop a small puddle of watery color onto the paper.
- Aim a drinking straw close to the puddle and blow.
- Chase the paint outward into branches and add new colors.
Stay close and remind kids to blow out, not sip in, so the paint stays on the paper. The branches make great trees and fireworks.
Tips for Teaching Watercolor to Kids (and Managing the Mess)
The biggest help is setup. We lay out every supply for each kid before anyone dips a brush, which keeps the session from falling apart halfway through.
Cover the table first, because watercolor does get messy, and a wiped surface beats a scrubbed one.
When we teach more than one project in a sitting, we demo one technique at a time and let the kids work for five to ten minutes before moving on. Showing all eight at once just overwhelms them.
NoteThe afternoon we tried all the texture tricks back to back, the salt painting won by a landslide. Both kids kept asking to sprinkle "just one more," long after the paint had dried.
Watercolor Techniques by Age (Toddler, Preschool, School-Age)
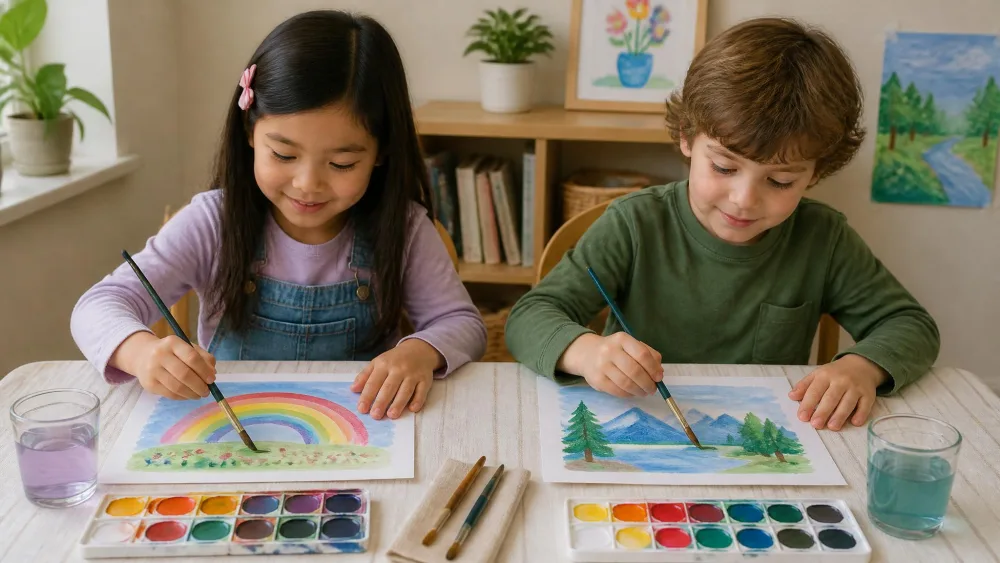
These projects stretch across a wide age range, and the same eight ideas grow with the child.
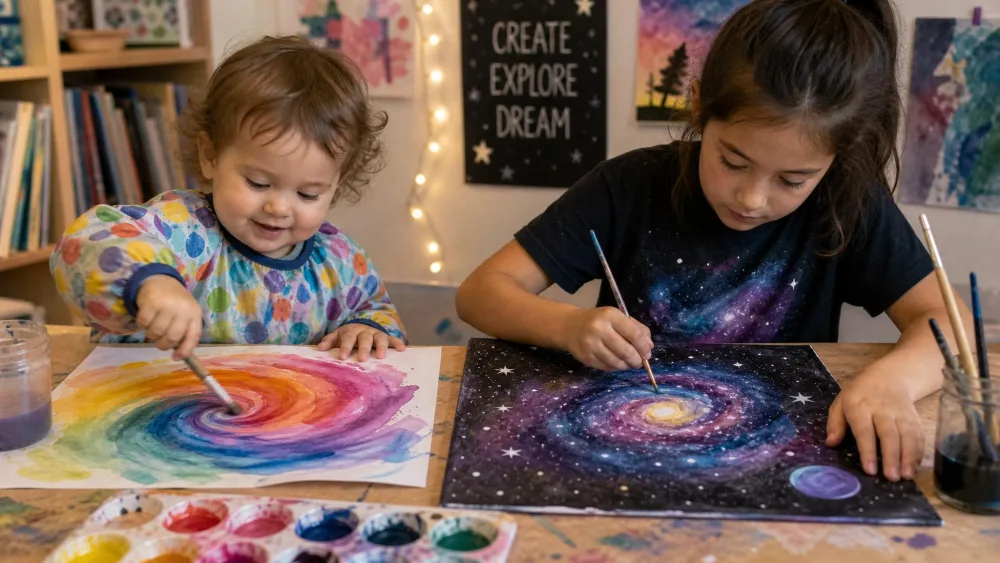
Kids can begin exploring watercolor around 18 months with close supervision. At that stage it is sensory process art, all about watching color move, not the finished picture.
Toddlers and preschoolers do best with wet-on-wet, salt, and splatter, the projects with instant payoff. Expect short bursts of focus and plenty of brown, over-mixed pages, which is normal.
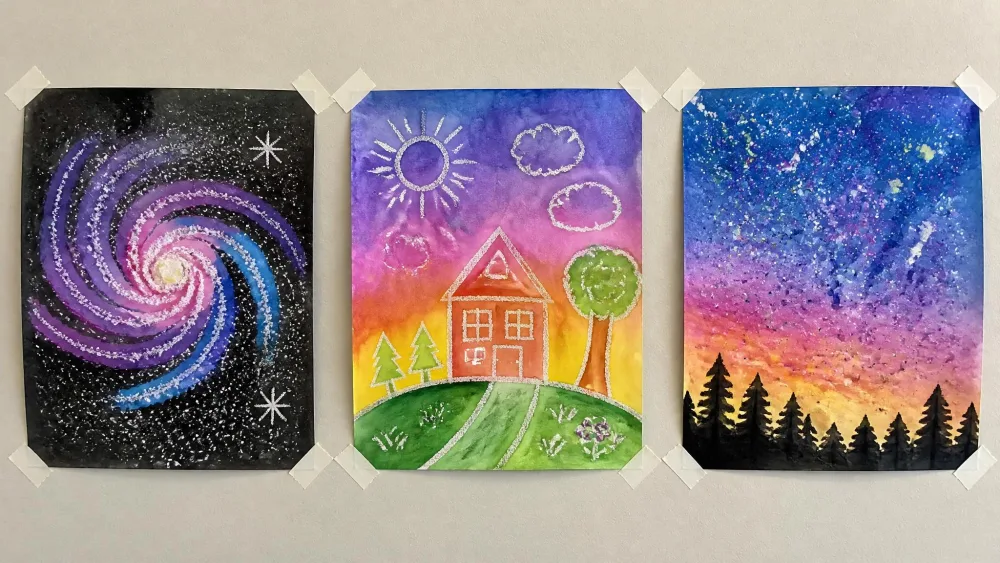
School-age kids hold attention longer and often ask to make several paintings in one sitting. They can plan a galaxy, layer a resist, and tape off shapes for a clean reveal. A nicer paint set pays off most at this age.
Frequently Asked Questions
What age can kids start watercolor painting?
Kids can begin exploring watercolor around 18 months with close supervision. At that age it is sensory and process-focused, so let them experiment with color and movement rather than aim for a finished picture.
Are watercolor paints safe for toddlers?
Look for paints labeled non-toxic with the AP seal. The ACMI non-toxic AP seal certifies a material is evaluated and labeled to the ASTM D-4236 chronic-hazard standard and is safe for children. Crayola Washable Watercolors, for example, are non-toxic and recommended for ages 3 and up (3+). Always supervise toddlers so paint and water stay out of mouths.
What supplies do kids need to start?
A non-toxic pan paint set, watercolor paper, a round and a flat brush, and two cups of water. From there, salt, a white crayon, tape, plastic wrap, and a straw unlock every project on this page.
What's the difference between pan, tube, and liquid watercolors?
Pan sets are solid blocks of color, cheap and durable for daily use. Tube paints are a concentrated paste you mix on a palette. Liquid watercolors come pre-mixed and intense from a dropper, perfect for bold blow and splatter projects.
How do you keep watercolor paper from buckling?
Use a heavier paper, ideally 140 lb cold-press, and tape it down to a board before painting. The tape holds it flat while it dries and leaves a tidy white border when you peel it off.
Final Thoughts: Let Kids Explore and Experiment
The best part of watercolor is how little can go wrong, since a muddy page or a runaway splatter is still a win, because the value is in the doing.
Start with wet-on-wet and salt, keep the supplies simple, and let your kids lead from there. Give them room to experiment. That is all it takes to have fun with watercolor and end up with results worth displaying.