Snowflake STEM Activity: Build, Fold and Grow Snowflakes
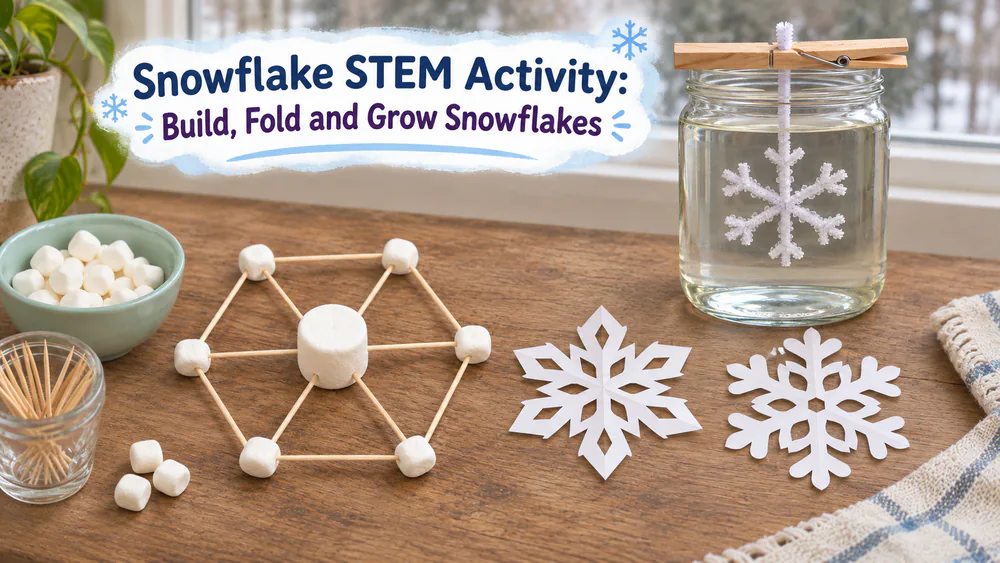
A snowflake STEM activity gives restless kids something simple to make on a winter afternoon, with or without snow. We tried three hands-on builds: marshmallow and toothpick snowflakes, folded paper ones, and salt crystals. Each one teaches something different about shape, structure or crystals. Everything uses simple materials from the kitchen and craft drawer.
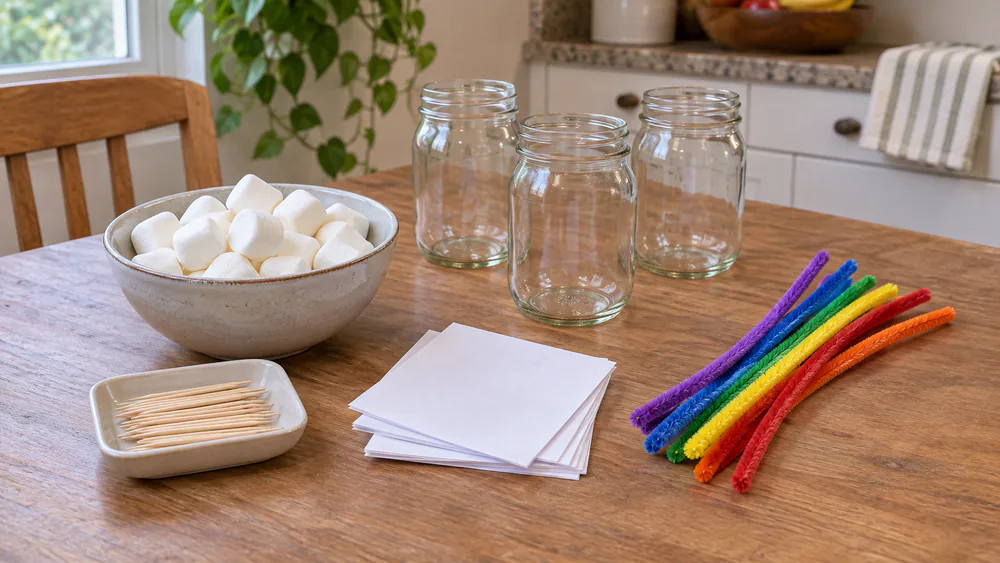
Supplies for the Snowflake STEM Activity
You can do all three builds with a short shopping list. Most of it is already in the house.
- Large and mini marshmallows, plus a box of toothpicks
- Square paper, scissors and a pencil
- Pipe cleaners, a clothespin and wide-mouth glass jars
- Salt (a lot of it) or borax, plus string and a craft stick for the borax version
Build a Marshmallow and Toothpick Snowflake
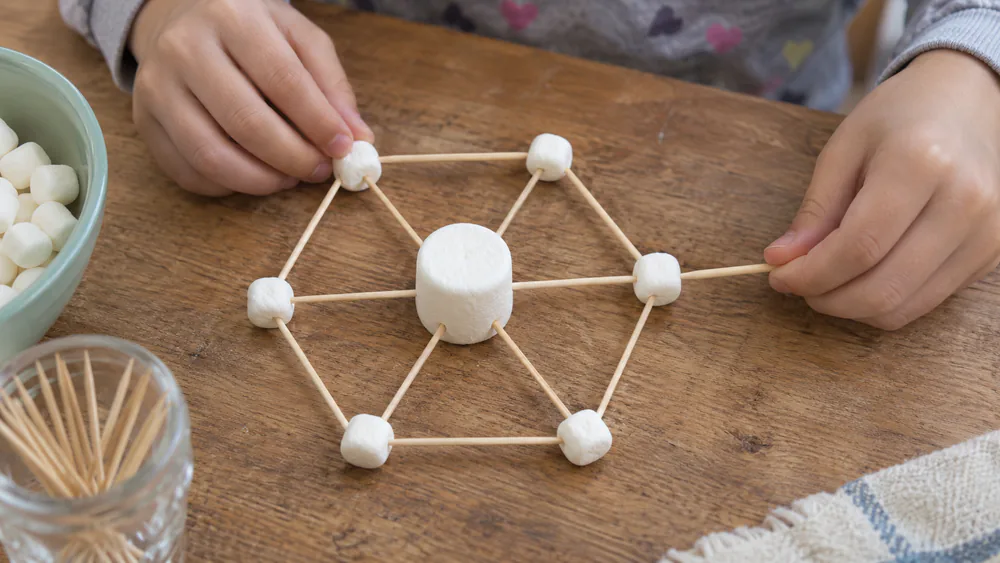
This is the build that gets kids thinking like engineers. Snap a few toothpicks in half before you start, because shorter pieces give more design options. Hand out marshmallows in bowls and give each child one large marshmallow. That keeps the supply from vanishing in minutes.
You need: one large marshmallow per child, mini marshmallows, toothpicks.
Step 1: Make the Center Hub
- Set the large marshmallow on a plate. This is the hub of your snowflake.
- Push a toothpick straight through the middle of the marshmallow.
- Keep the toothpick centered. Kids learn quickly that an off-center toothpick will not hold the arm.
Step 2: Add Six Arms
Real snowflakes have six arms, so aim for six toothpicks around the hub, spaced like the clock positions 12, 2, 4, 6, 8 and 10. Spacing by eye varies, and that is fine. The more even the hexagon, the stronger the flake. Push a mini marshmallow onto each tip.
Step 3: Test Stability and Improve
Big, intricate flakes get top-heavy and sag in our house. Join the arm tips with more toothpicks to make a hexagon. Cross-beams help too, and triangles are the strongest shape for bracing. Then challenge your kids to make it stronger.
Parent tipLet the finished flakes dry for about a day. Handled right after building, they can come apart. Once dry, they hold up well. They are food, so toss them after a few days.
The build is sticky, but it wipes off the table easily. A wide age spread stayed engaged, from school-age kids to teens.
Fold Paper Snowflakes to Explore Symmetry
Of the three activities, paper snowflakes are the quickest and the best for exploring symmetry. The reveal when you open a folded flake is the moment kids remember. Even little ones who only help fold love it.
You need: a square of paper, scissors, a pencil.
Square and Round Fold Method
- Start with a square and fold it diagonally into a triangle. Press the folds well.
- For a rounder, six-point flake, fold the triangle in thirds and trim the overlapping ears.
- Cut shapes into the folded edges, but do not cut all the way across the folds.
Predict the Cut Pattern
Before you unfold, ask your child to draw what they expect to see. Then open it together and compare. Try layering two flakes rotated 90 degrees and gluing them for a 3D look.
Parent tipKids too young for scissors can still fold. Save the unfolding for them.
Grow Salt or Borax Crystal Snowflakes
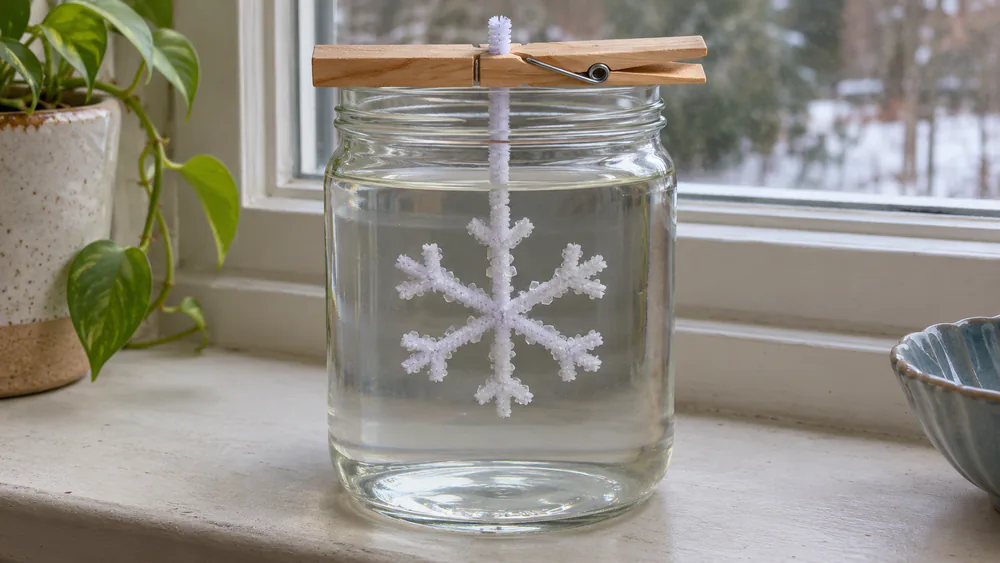
This is the slow one, so start it first. Pipe cleaner snowflakes hang in a hot salt or borax solution, and crystals grow on them. We make the salt solution ahead while the kids design their pipe cleaner flakes. That way little ones are never near boiling water.
You need: pipe cleaners, a clothespin, wide-mouth jars, salt or borax, boiling water.
Watch outAn adult handles all the hot water. Glass jars filled with boiling water are too hot to touch, so keep them with an adult until cooled. Keep borax away from small kids, never let it be swallowed, and wash hands afterward.
Steps to Grow the Crystals
- Twist a pipe cleaner into a snowflake. Check that the snowflake fits easily through the jar mouth; younger kids often make their designs too big.
- For salt, boil about 3 cups of water per mason jar and stir in salt until it stops dissolving. We use nearly a whole container of salt for three jars. For borax, stir about 1/3 cup of borax into a pint jar filled about 3/4 full with boiling water.
- Hang the flake from a clothespin (salt) or a string tied to a craft stick (borax). It must not touch the sides or bottom of the jar, and the jars should not be bumped. Leave salt in a sunny window for 2-3 days. Borax crystals form faster, often overnight.
A flake that touches the glass grows lumpy or sticks to the jar, and a bumped jar slows growth. The string for borax stays attached to the crystals, so use string you do not mind keeping.
What Is Happening (The Science)
As the salt water cools and evaporates, salt comes out of the solution. Crystals then grow on the pipe cleaner. If you want a quick read on how snowflakes form, it pairs well with this step.
Why Every Snowflake Has Six Sides
Real snow crystals are six-sided. There are no four- or eight-sided snowflakes in nature. The snow crystal science for kids page is a good place to check this with older children.
Hexagon Shape and Symmetry in Plain Words
Water molecules lock into a hexagonal pattern as they freeze, which is why ice crystals have six arms. Six arms also means six-fold symmetry. A circle has 360 degrees, and 360 divided by six is 60 degrees. Turn a snowflake 60 degrees and it looks the same.
Why No Two Are Alike
Each snowflake is unique. Temperature and humidity shape the arm patterns, so each flake's path through the air gives it a different design.
Make It Easier or Harder for Different Ages
Preschool and Kindergarten
Little ones can build simple marshmallow flakes with fewer arms and get good fine motor practice. Let them help fold paper, and let them design the pipe cleaner flake while an adult handles the jars.
Elementary and Older Kids
Marshmallow building works well for roughly ages 5 to 12. Older kids can discuss angles, build larger snowflakes and add cross-beams to support sagging arms. Salt crystals suit ages 4+ with an adult handling the boiling water. Ask older kids to predict cut patterns and explain the 60 degrees in their own words.
Tips and Troubleshooting
- Flake sags: add a hexagon of toothpicks or cross-beams.
- Crystals are lumpy: the flake touched the glass, or the jar was bumped.
- No crystals after a day: salt takes 2-3 days, so give it more time and keep the jar in a warm spot.
Snowflake STEM Questions Parents Ask
Why do snowflakes have six sides?
Water molecules lock into a hexagonal pattern as they freeze. That gives real snow crystals six arms.
What is the best age for this activity?
Marshmallow flakes suit roughly ages 5 to 12, and salt crystals suit ages 4+ with an adult handling hot water. Preschoolers can join in by folding paper.
Is borax safe, and can we grow crystals without it?
Borax needs adult supervision, and it should never be swallowed. The salt version works just as well for a first try, and it grows over 2-3 days.
Do we need special supplies, and how do I explain symmetry to a young child?
No, everything comes from the kitchen and craft drawer. For symmetry, fold a paper square, cut it, and open it to show both sides match.
More Snowflake and Winter STEM Ideas
Want more? Try our snow STEM activities for kids or these winter STEM activities for kids. For a story to read alongside, visit Snowflake Bentley's website to learn about the man who photographed snowflakes.