25 Nature Art Projects for Kids
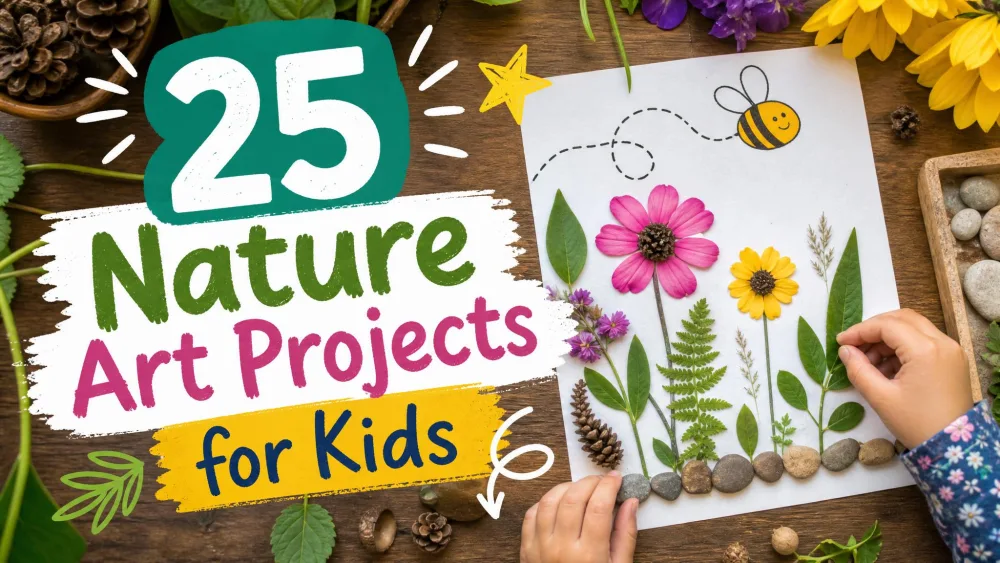
Wondering what to do with the pile of leaves and sticks the kids keep dragging inside? You are in good company. In our house, every walk ends with pockets full of acorns, twigs, and petals, and it seemed a shame to toss them all.
So we started turning that haul into art at the kitchen table. Below are 25 nature art projects for kids we have made with our own two, and that hold up for toddlers, preschoolers, and school-age kids alike.
Grab a basket, take a nature walk, and let the natural world do half the work.
Leaf Art Projects
Leaves are the easiest place to start. They are flat, everywhere, and they print, rub, and glue beautifully.
1. Leaf Printing on Paper
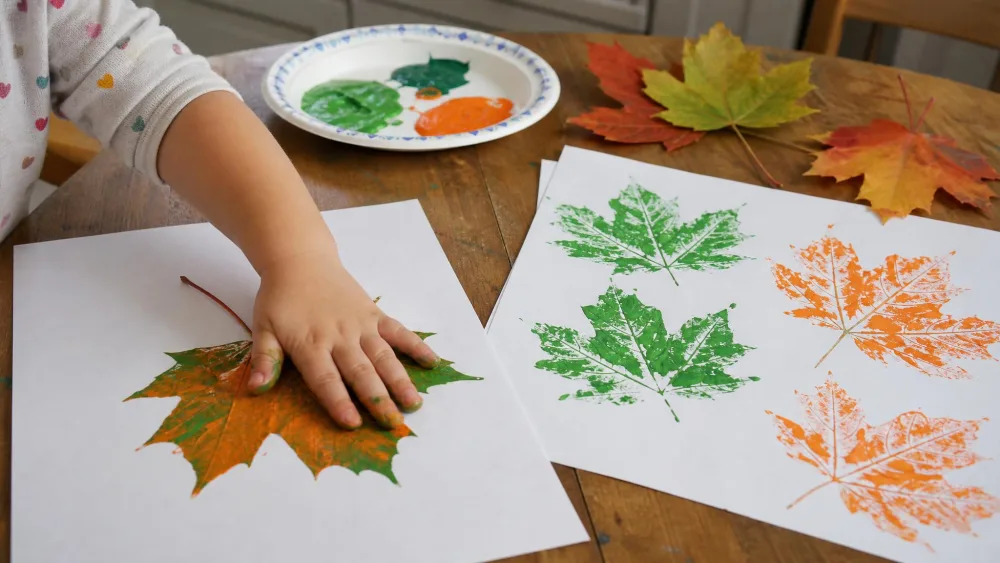
Brush a thin layer of acrylic paint onto a leaf, then press it firmly onto paper. Paint the underside, not the top. The veins stand out more on the back and print with far more detail. When our kids first tried it, their clearest prints came from the underside every time, and too much paint smudged the shape into a blob. Flat leaves with strong veins work best, so reach for maple, oak, ginkgo, or ash.
Parent tipAcrylic on leaves dries fast, so work quickly. Load the brush, press the leaf, and lift. A light mist of water keeps the brush workable between prints.
2. Leaf Rubbings & Crayon Resist
Slip a leaf under thin paper and rub the side of a peeled crayon across the top. The shape appears like magic. For a resist, do the rubbing first, then brush watercolor over the page. The waxy lines push the paint away and glow through the color.
3. Leaf Suncatchers
Let kids press small leaves onto the sticky side of clear contact paper. Lay a second strip on top, trim to a shape, and tape it to a sunny window. The light through the leaves is lovely.
4. Nature Crowns with Leaves
Cut a cardboard strip to fit around your child's head and wrap it in tape, sticky side out. Let them press leaves, petals, and tiny flowers onto the band. Every kid who wears one becomes royalty of the backyard.
5. Leaf Animal Collage
Sort your leaf haul by size, then glue them into animals. A big leaf becomes a fox body, small ones become ears and a tail.
Flower & Petal Art
6. Flower Printing
Like leaf printing, flowers can be painted and pressed onto paper, or dipped in paint and stamped. Daisy centers and marigold edges leave wonderful marks.
7. Pounded Flower Art (Hapa Zome)
Hapa zome is a Japanese term meaning "leaf dye," where you pound pigment from fresh plants onto fabric or paper with a hammer. Lay a flower on cotton or thick paper, fold it over, and let kids hammer away. The color transfers right through the cloth. It only works with fresh, juicy blooms, though, and dried petals barely leave a trace. It is also a real gross-motor workout for little hands, and even our five-year-old could do it safely with us close.
Parent tipHigh-moisture flowers transfer best, like pansies, geraniums, and soft leaves. A smooth rock works if you have no mallet.
8. Pressed Flower Bookmarks
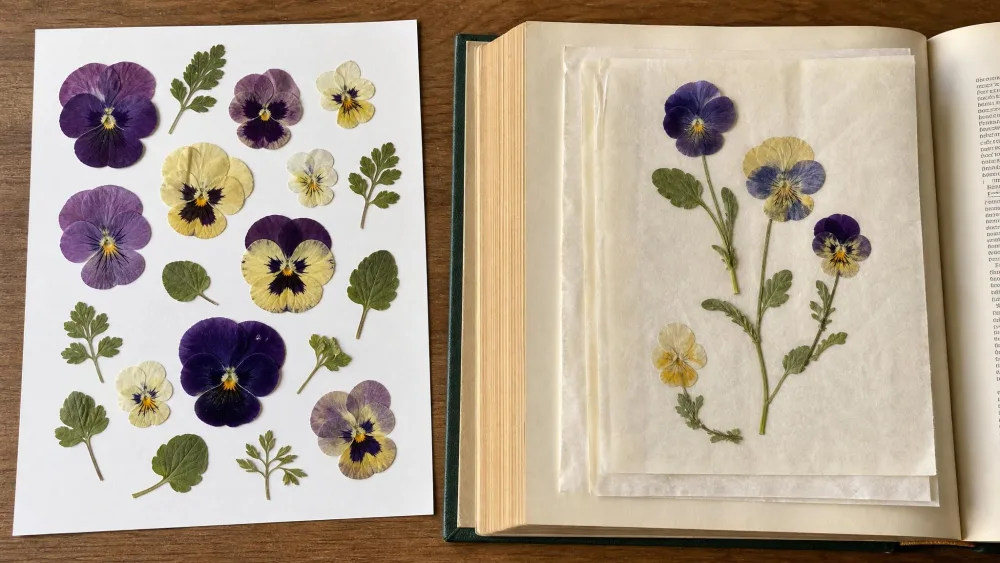
Tuck flowers between paper inside a heavy book and wait. Small, thin flowers and leaves press in about 2-3 weeks, most blooms take 2-4 weeks, and thick flowers like roses can need up to six weeks. Once flat and dry, glue them to card stock and cover with contact paper for a lasting bookmark.
9. Flower Petal Suncatchers
Use the same contact-paper trick, but fill your window shape with bright petals. Layering yellow, pink, and purple makes a stained-glass effect when the sun hits it.
10. Flower Petal Paper
Press torn petals into a thin layer of white glue on card stock. As it dries you get speckled paper that kids love to use for cards.
Stick, Twig & Bark Art
11. Twig & Leaf Mobiles
Tie string to each end of a sturdy stick, then hang leaves, feathers, and pinecones from more strings below. Hang it near a window and let it spin. It is a calm project after a busy nature walk.
12. Bark & Texture Rubbings
Press paper against tree bark, a rough stone, or a fence, then rub with a crayon to capture the texture. Kids can collect a whole page of surfaces to compare.
13. Nature Weaving on a Stick Frame
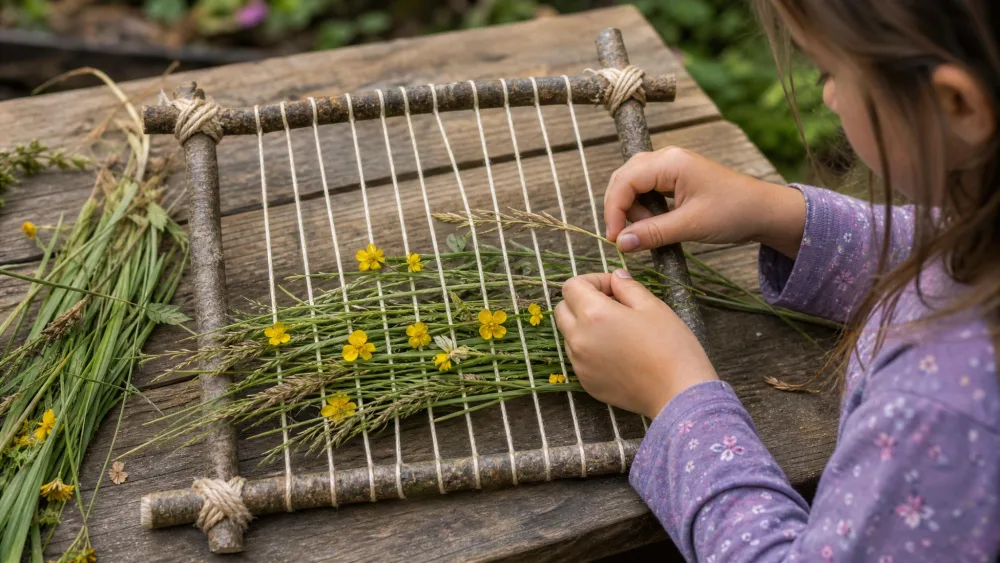
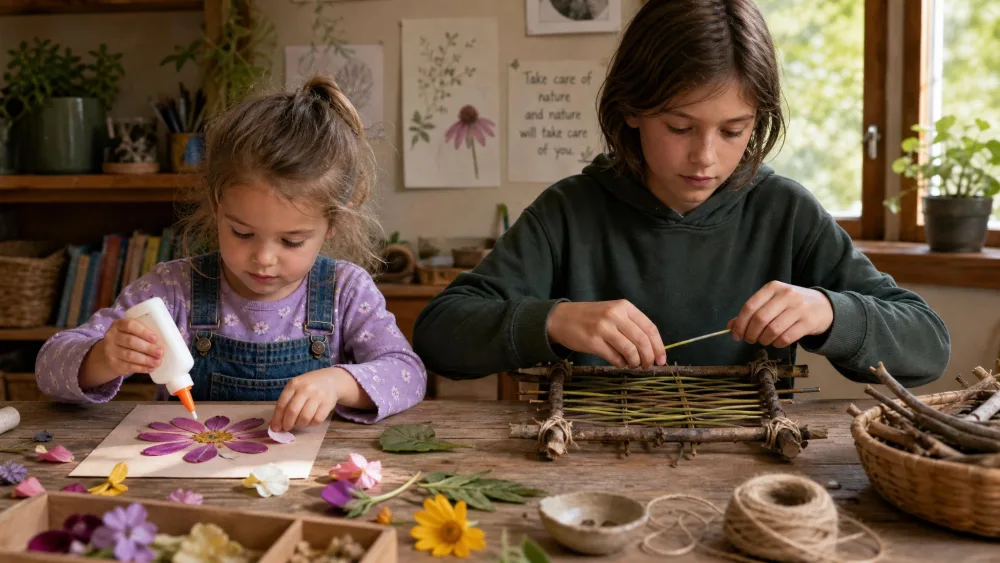
Lash four sticks into a square frame, wrap yarn across it, then weave in long grasses, flowers, and leaves. Even young kids can poke stems through the yarn.
14. Stick Picture Frames
Glue four straight twigs into a rectangle around a favorite drawing, and add a loop of string to hang it. It turns a stick haul into something you keep.
Rock & Stone Art
15. Painted Rocks
Smooth, flat rocks are perfect little canvases, and acrylic paint sticks and lasts best. One thing to know: acrylic is water-resistant once dry but not waterproof. Rocks we left outside softened and lifted after a few rainy mornings until we started sealing them.
Parent tipFor rocks that live outdoors, seal them with a non-toxic sealer like Mod Podge Outdoor or a clear acrylic spray. A self-sealing outdoor acrylic skips this step.
16. Stone Faces & Story Stones
Paint one simple picture on each stone, like a sun, a cat, a tree, a boat. Then use them to tell stories, drawing a stone and adding it to the tale. These get played with long after the paint dries.
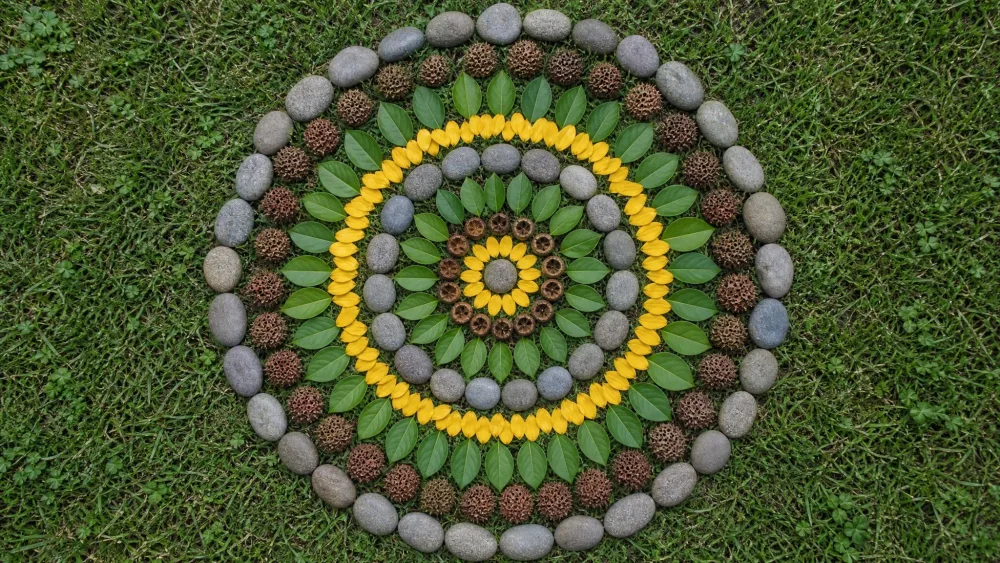
17. Nature Mandalas with Stones & Petals
Arrange stones, petals, seeds, and leaves into circular patterns around a center point. There is no glue and nothing to keep, just arranging, and it is oddly peaceful. Snap a photo before the wind rearranges it.
Sun, Shadow & Land Art
18. Sun Prints (Cyanotype)
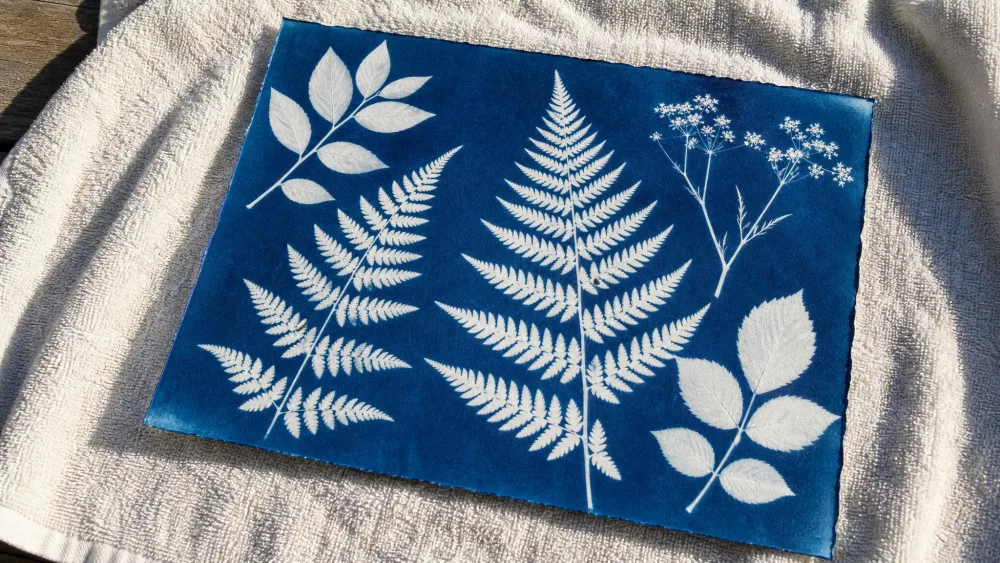
This one earns the loudest gasps in our house. Arrange leaves and flowers on light-sensitive paper, set it in the sun for 2-5 minutes until the paper turns pale, then rinse it under plain water. The rinse stops the development and flips the whole sheet to deep blue with white leaf shapes.
A few things we learned the hard way. The paper starts developing the second it leaves the packet, so lay leaves out fast or the design blurs. Skip the glass cover some kits suggest, since it picks up static that smears the image. And save it for a still day, because leaves that shift in the wind come out fuzzy.
On a dull, overcast day exposure takes much longer, so watch the paper rather than a clock and pull it once the blue fades to pale.
Parent tipThe rinse-and-reveal is the big wow. Our kids did not believe plain paper could flip to blue with white leaf shapes until they saw it in the water.
19. Shadow Tracing with Nature Items
On a sunny morning, stand sticks, leaves, and toys upright on a big sheet of paper and trace their shadows. Come back an hour later and trace again in a new color to see how they moved.
20. Land Art Patterns with Sticks & Stones
Kids arrange sticks, stones, and leaves into lines, spirals, and patterns right on the ground. Nothing comes home. The art lives outside, and that is part of the fun.
Clay & Mud Nature Art
21. Clay Nature Impressions
Press leaves, shells, and twigs into a flat slab of air-dry clay, then peel them away. The fossil-like prints that stay behind make lovely keepsakes once dry.
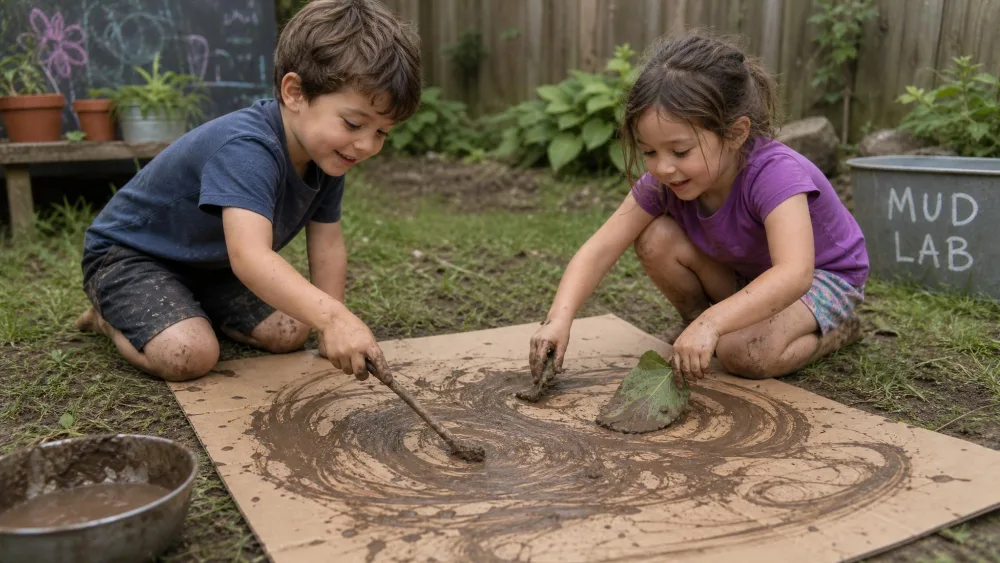
22. Mud Painting
Mix dirt and water into mud, hand over sticks and leaves as brushes, and let kids paint a fence or a big sheet of cardboard. It is gloriously messy and washes right off.
Mixed Nature Craft Projects
23. Pinecone Creatures
Add googly eyes, felt, and pipe cleaners to pinecones to build owls, hedgehogs, and mice.
Parent tipBake acorn tops in a low oven before gluing. They come out with a crackled finish, and the heat drives off hidden bugs.
24. Feather & Nature Collage
Glue found feathers, seeds, petals, and bark onto card stock in any arrangement. There is no wrong way to do it, which makes it great for the youngest crafters.
25. Nature Journals
Give each kid a notebook to fill with pressed leaves, taped-in petals, sketches, and notes from each nature walk. Over a season it becomes a record of what they found.
NoteThe projects that stuck in our home were the ones with a big payoff moment. Sun prints flipping to blue and flowers bleeding color through fabric under a hammer got asked for again and again. The quieter ones, like mandalas and journals, became our calm-down activities.
Getting Started: What You'll Need for Nature Art
Most projects need little beyond what you gather outside. A basket, paper, glue, tape, scissors, and washable paints carry you through most of the list.
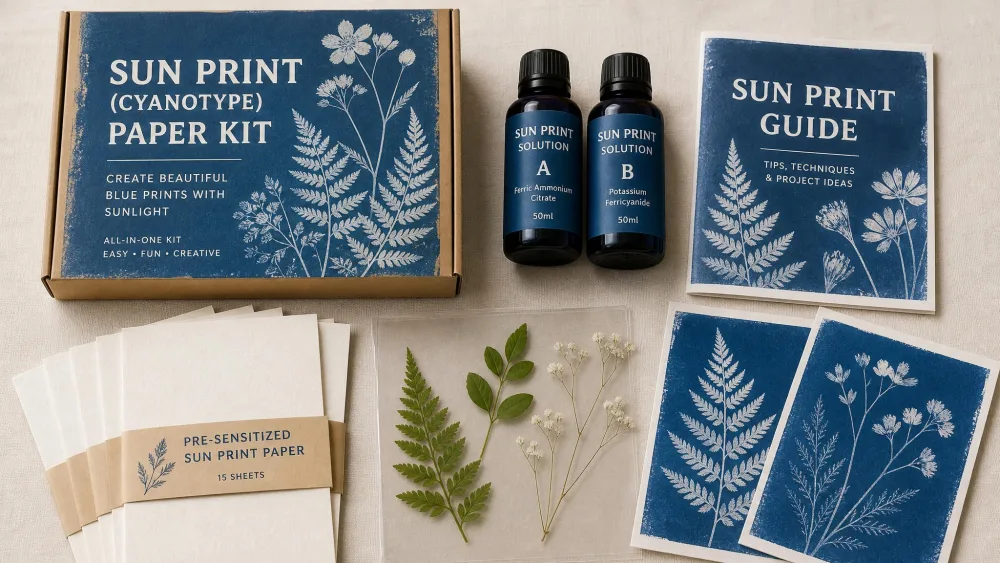
A few projects want one special supply. Sun prints need light-sensitive cyanotype paper, and painted rocks last longest with real acrylic craft paint plus a sealer. Clear contact paper handles every suncatcher.
If your kids learn better by watching, short clips help. We found demos for leaf rubbing technique, painting and sealing rocks, and making sun prints cleared up more questions than written steps.
Watch outKeep an adult close for anything with scissors, hammers, or hot glue. Gather only fallen material, and teach kids never to eat berries, mushrooms, or plant parts. Learn to spot poison ivy (three leaflets), poison oak, and sumac, and steer clear of toxic berries like pokeberry, yew, and holly. If a child does swallow something, call the U.S. Poison Help hotline at 1-800-222-1222.
Nature Art Tips by Age (Toddlers, Preschoolers, School-Age)
Every project here can flex up or down for different ages.
Toddlers do best with big sensory work. Mud painting, gluing petals onto sticky tape, and pressing leaves into clay all suit little hands. Skip small parts and stay within arm's reach.
Preschoolers can handle more steps. Leaf rubbings, painted rocks, nature crowns, and hammered flowers are great at this age. They love a job with a clear result, and hapa zome doubles as a way to get creative and work off energy.
School-age kids enjoy projects with technique and patience built in. Sun prints, pressed flower bookmarks, nature weaving, and journals reward kids who can wait for a result and follow steps on their own.
Frequently Asked Questions
What is nature art for kids?
Nature art is any craft made from natural materials like leaves, flowers, sticks, and stones, or inspired by the natural world. It ranges from quick leaf rubbings to slower pressed flower bookmarks.
What natural materials are safe for toddlers?
Stick to fallen leaves, flower petals, smooth stones too big to swallow, and clean sticks. Avoid berries, seeds, mushrooms, and anything small enough to be a choking hazard, and always supervise closely.
What age is nature art good for?
All ages. Toddlers enjoy sensory projects like mud painting, preschoolers like painted rocks and nature crowns, and school-age kids take on sun prints, weaving, and journals.
How do you preserve leaves and flowers for crafts?
Press them flat between paper inside a heavy book. Thin flowers and leaves press in about 2-3 weeks, most blooms take 2-4 weeks, and thick flowers can need up to six weeks. Contact paper or a coat of glue also seals and protects finished pieces.
What nature art can kids do indoors?
Plenty. Leaf and flower printing, pressed flower bookmarks, nature collages, story stones, and journals all work at the kitchen table with materials from your last walk.
Final Thoughts
The best part of nature art is how little it asks of you. A basket, a walk, and a few basic supplies turn an ordinary afternoon into something the kids remember.
So get outside, gather a little of the beauty of nature, and see what your kids make of it.