25 Easy Christmas Crafts for Kids
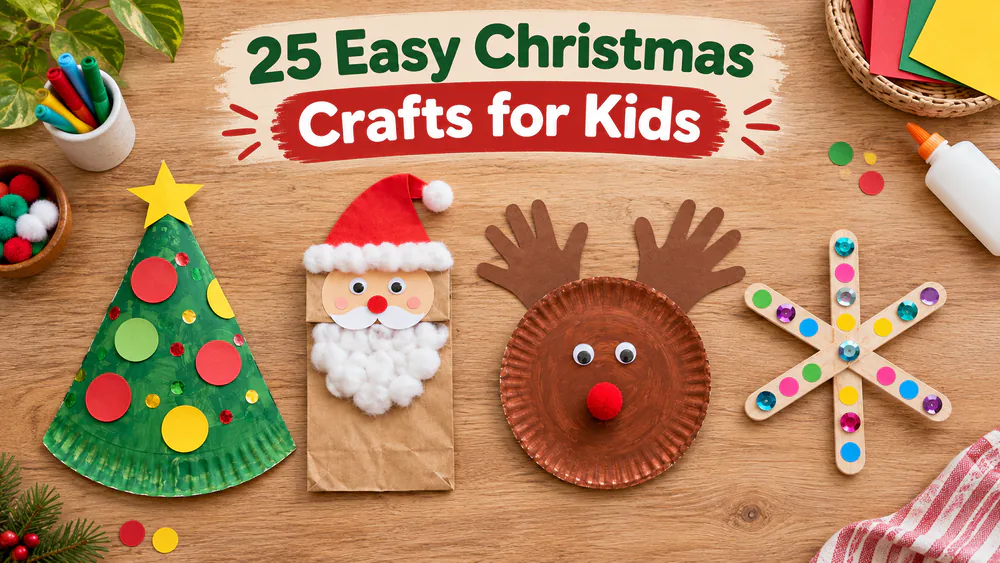
Looking for easy and fun Christmas crafts that work for all ages? Here are 25 we made at our kitchen table, mostly with paper, glue, and yarn. Each one takes a short afternoon session and stays low on mess. For more holiday ideas, try our watercolor Christmas crafts for kids.
Christmas Craft Supplies to Keep on Hand
All you need for most of these is a small stash of basics. Stock construction paper and cardstock, paper plates, paper lunch bags, cardboard tubes, craft sticks, yarn, ribbon, and pipe cleaners. Add washable markers, washable paint, glue sticks, tacky glue, and kid-safe scissors.
A rimmed tray and a damp cloth make cleanup easy.
Parent tipSkip loose glitter. It spreads across the whole table and the rest of the house. Sticker dots or metallic paper give the sparkle with far less cleanup.
Watch outBeads, googly eyes, and pom-poms are a choking hazard for children under 3. Leave them off toddler crafts, or keep those pieces in an adult's hands.
1. Paper Plate Christmas Tree
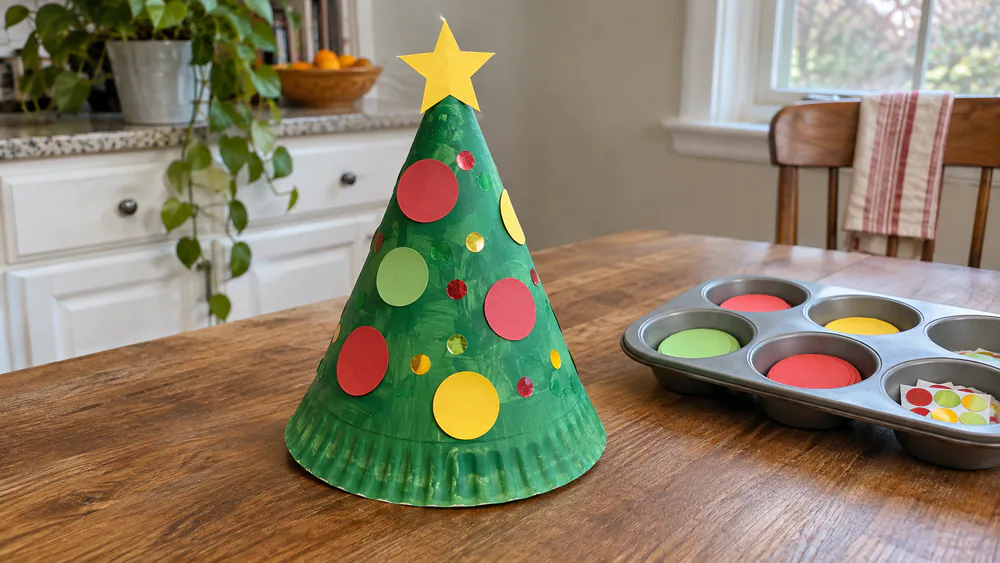
Paint a plate green, fold it into a cone or leave it flat, then decorate with paper circles and stickers. It suits ages 3 and up. We set the decorations in a muffin tin, which kept the circles and sticker dots from scattering across the table.
2. Popsicle Stick Tree Ornament
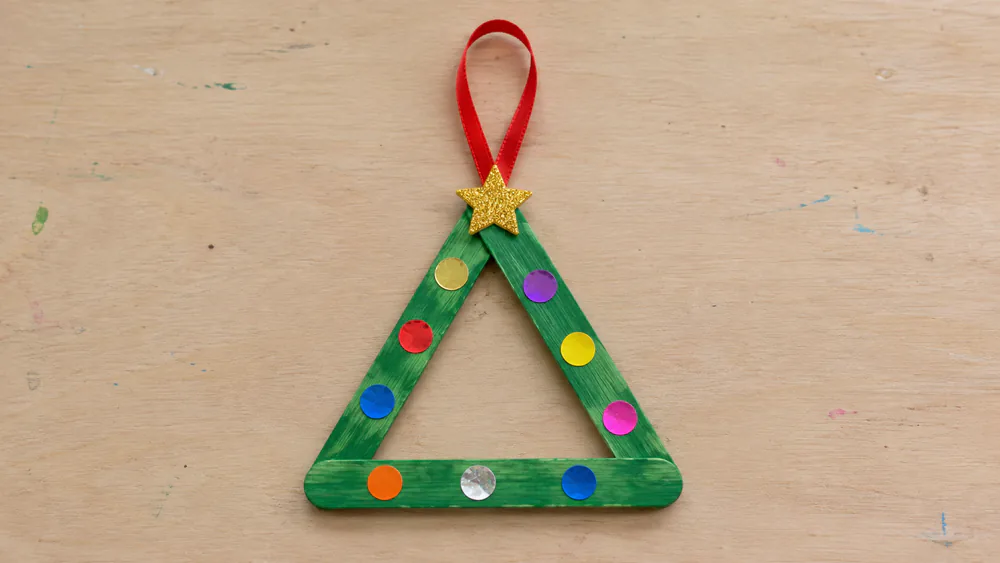
Glue craft sticks into a triangle, paint them green, and add a ribbon loop. Kids will love decorating it with stickers. For straw and craft-stick trees, hot glue is an adult-only step, and the kids handle the decorating after. Good for ages 5 and up.
3. Handprint Christmas Tree Card
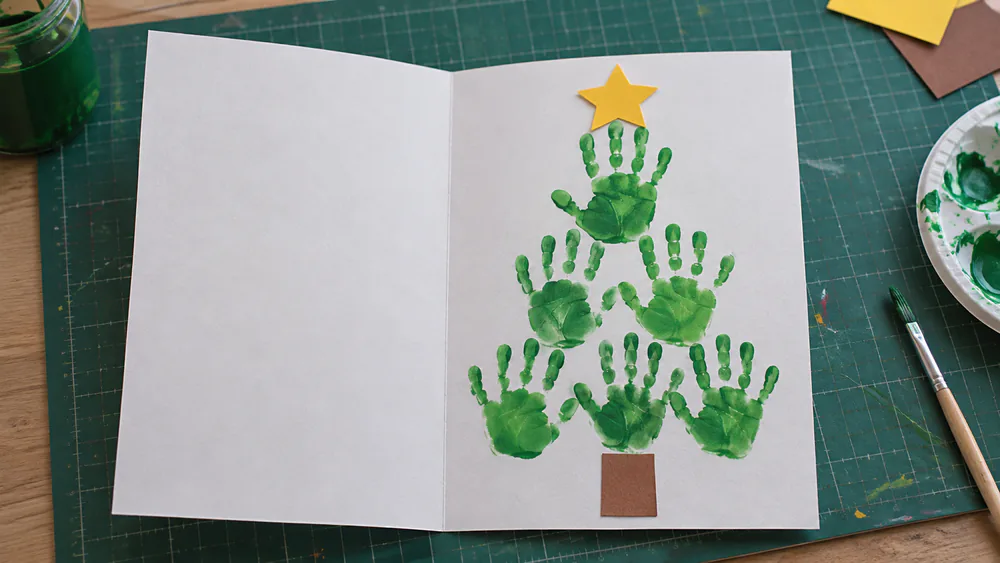
Press green painted handprints onto folded cardstock, stacking them into a tree shape, then add a star on top. It works as a keepsake gift. Write the name and year on the back. A toddler finds a handprint hard to press, so let the youngest ones sponge-paint instead.
4. Cardboard Roll Christmas Trees
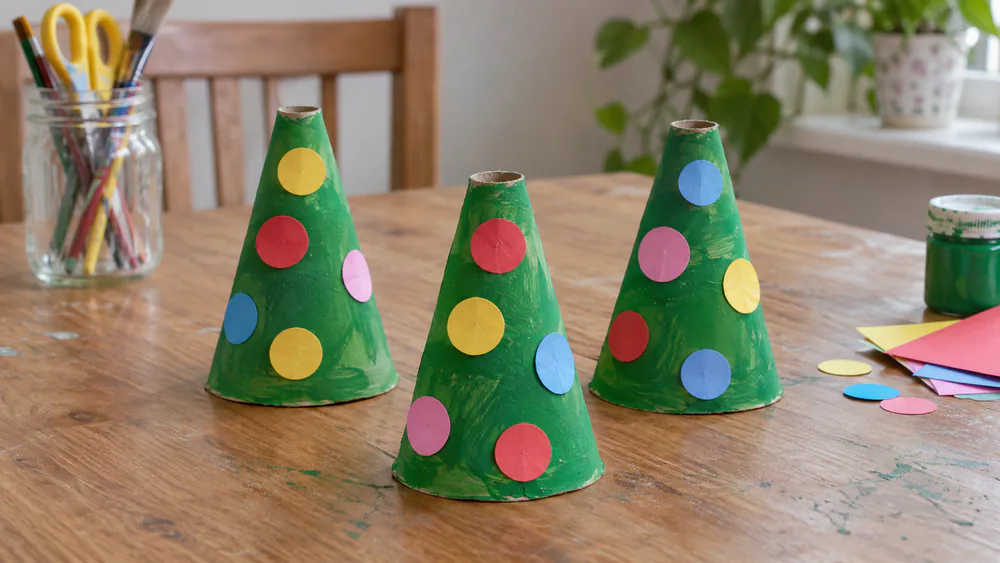
Cut a cardboard tube into a cone, paint it green, and decorate with paper shapes. This is a great upcycled craft since the supplies come from your recycling bin. Chunky yarn wrapped around the tube is another option. Adults should handle any cutting, and the craft suits ages 4 and up.
5. Pipe Cleaner Christmas Trees
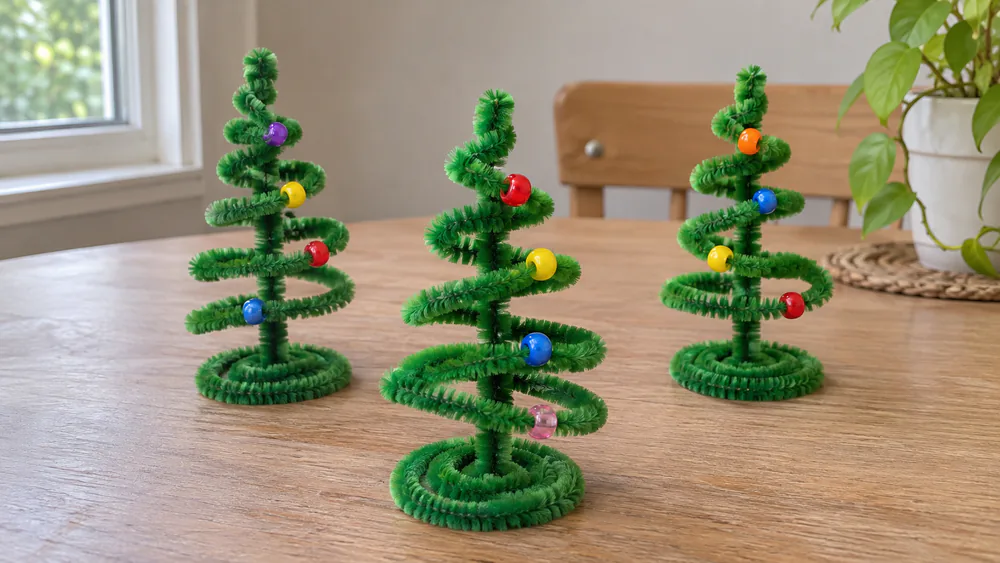
Twist green pipe cleaners into a tree shape and add a few beads for ornaments. These are easy and fun for ages 5 and up. For toddlers, skip the beads and just twist the pipe cleaners together.
6. Paper Plate Santa
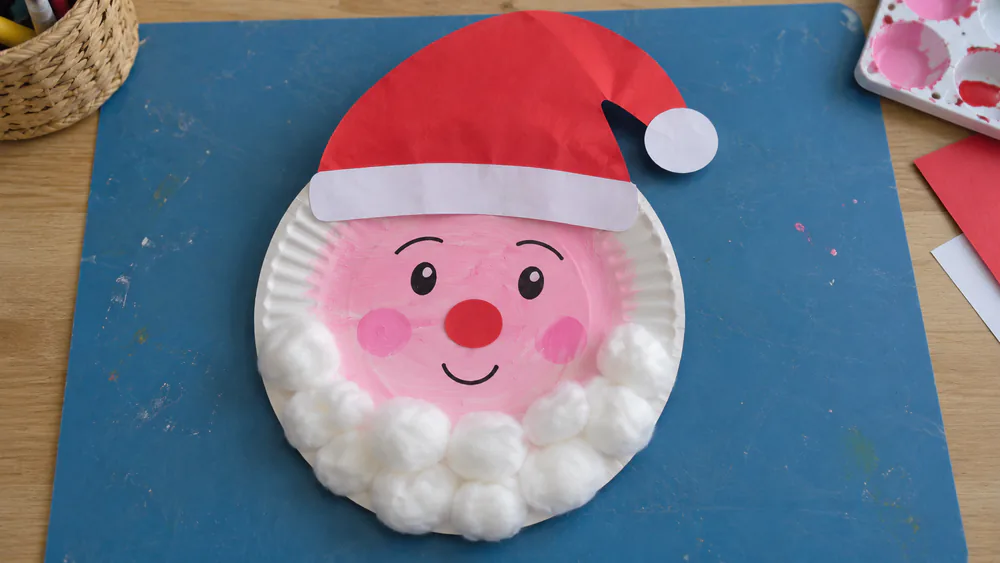
Color a plate pink for the face, add a red paper hat, and glue cotton balls on for the beard. Toddlers can handle this one with an adult cutting the pieces. Ages 2 and up can join in.
7. Handprint Santa Beard
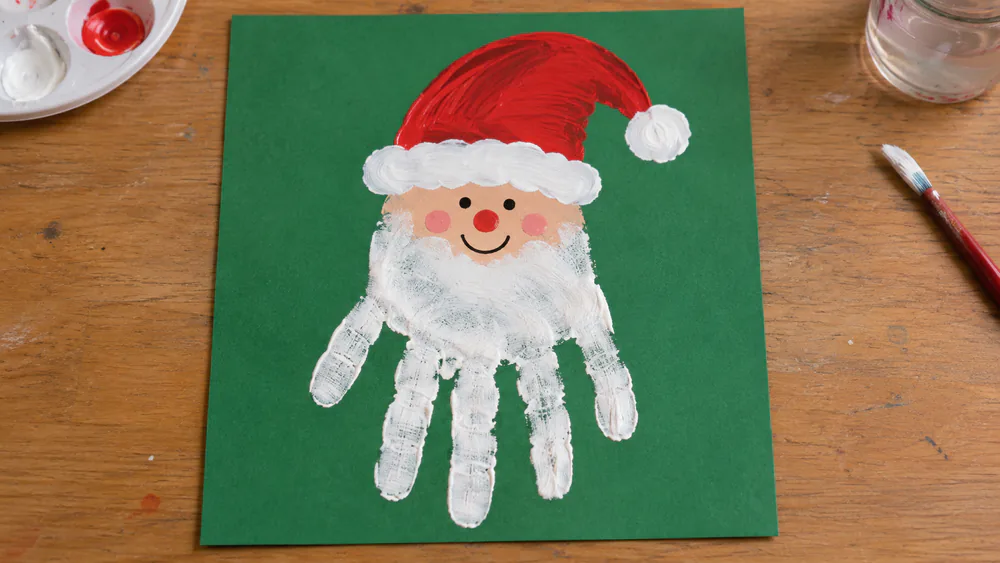
Paint a child's palm and fingers white, press it down for the beard, and finish the face and hat with markers. It makes a sweet keepsake that suits preschoolers well, and the beard looks best when the paint is thick.
8. Paper Bag Santa Puppet
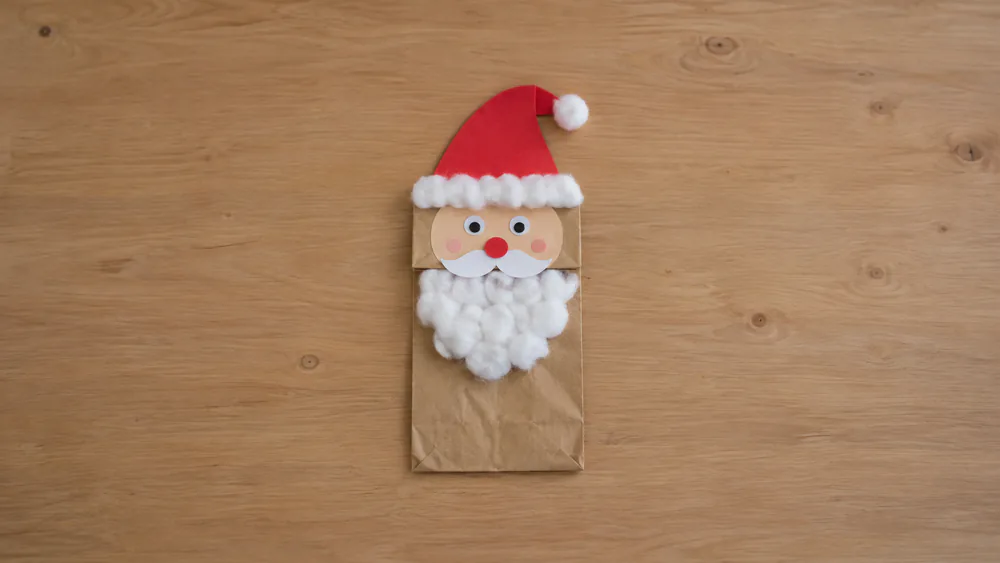
Turn a lunch bag upside down, glue a face on the flap, and add a red hat and a cotton beard. Preschoolers do best when the pieces are pre-cut, so they only arrange and glue.
9. Paper Plate Elf
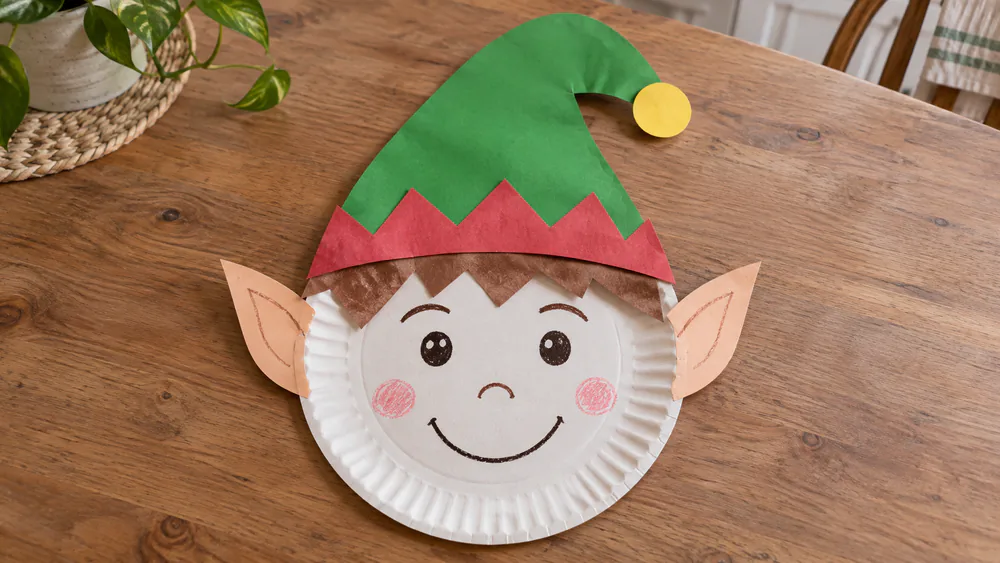
Cut a plate into a face shape, then add a green hat, pointy ears, and a drawn smile. Pre-cut the pieces for younger children so they can focus on arranging and gluing. This one suits ages 3 and up, with a grown-up handling the scissors.
10. Paper Plate Reindeer
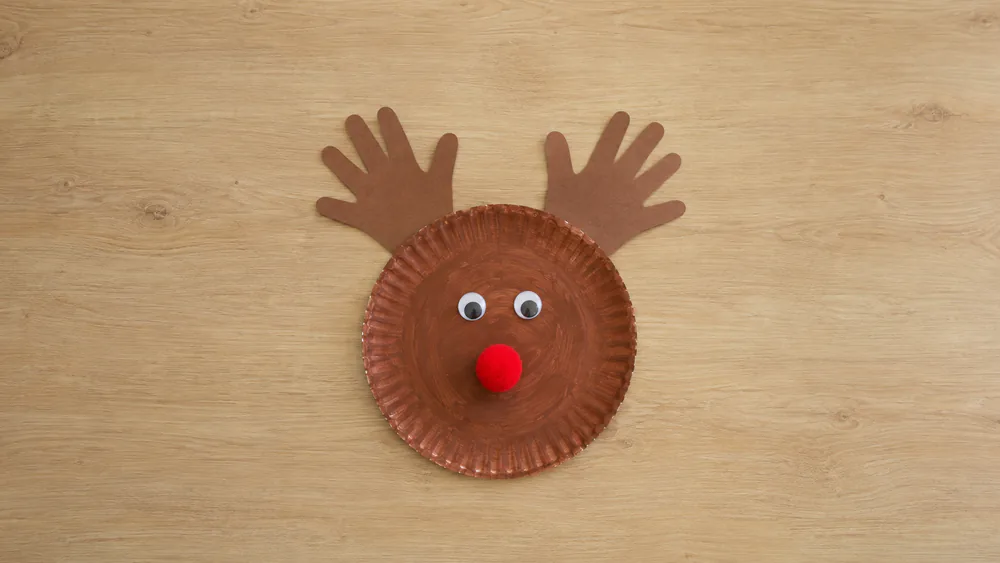
Paint a plate brown, add antlers cut from cardstock, and finish with a red nose. This is a favorite for toddlers, and a marker works well for the eyes and nose on the little ones. A paper plate reindeer tutorial has another take.
11. Handprint Reindeer Keepsake
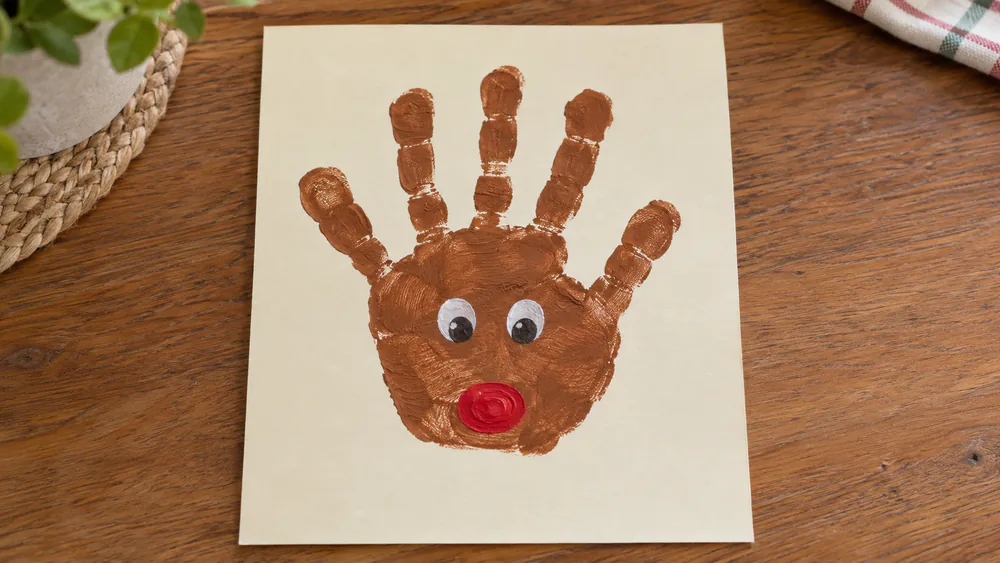
Press a brown handprint with the fingers pointing up as antlers, then add eyes and a red nose. It is a lovely holiday keepsake for preschoolers. Write the name and year on the back so you know when each one was made.
12. Toilet Paper Roll Reindeer
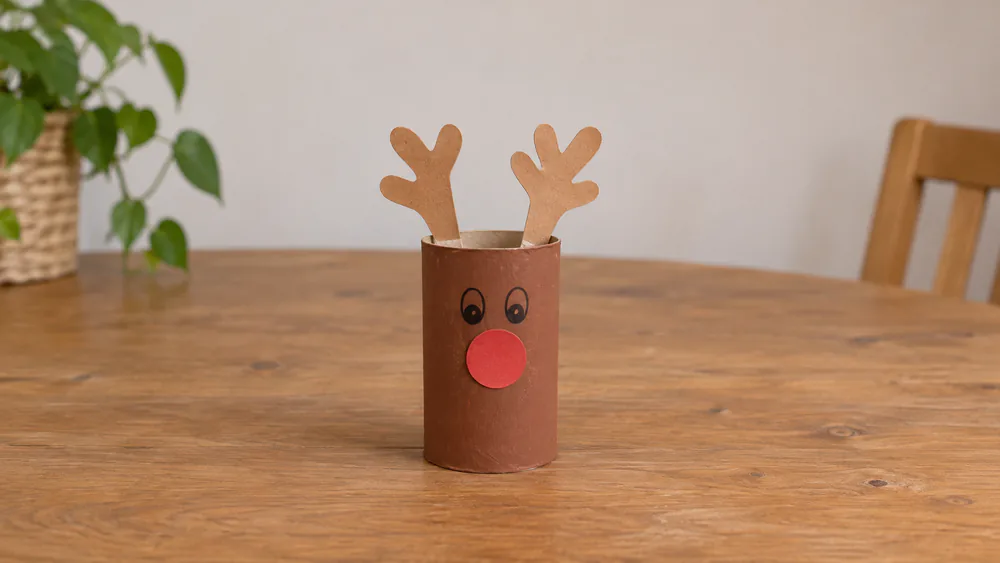
Paint a toilet paper roll brown, then glue on antlers, eyes, and a red nose. It is a simple upcycled craft that uses cardboard tubes from your recycling bin, and kids aged 4 and up can do most of it on their own.
13. Paper Plate Snowman
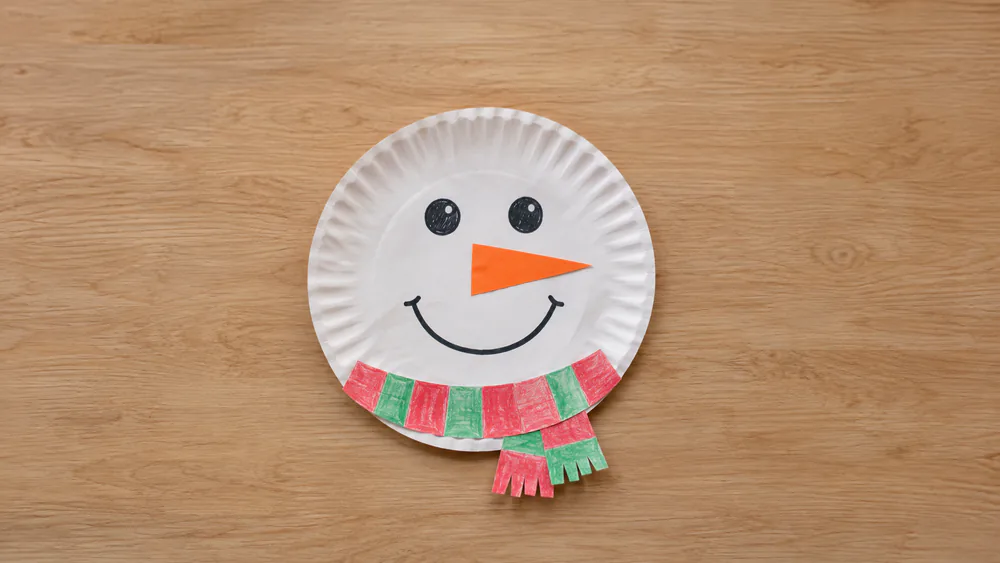
Use a white plate for the body, then add a face, an orange nose, and a paper scarf. Toddlers can glue the pieces on while an adult cuts. Ages 2 and up can help, and a small tray keeps the glue and paper scraps contained.
14. Clothespin Snowmen
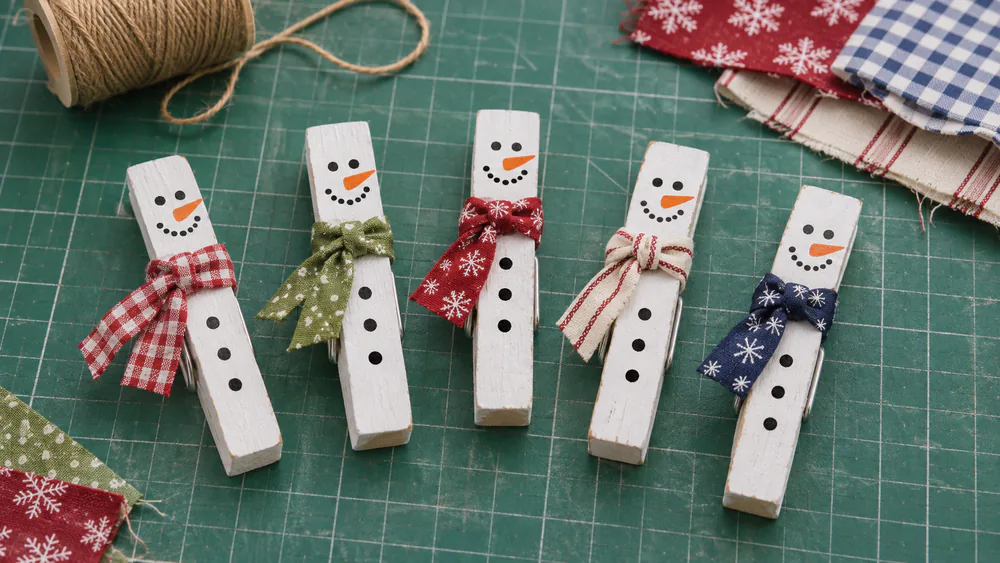
Paint wooden clothespins white, draw on faces, and tie a scrap of fabric as a scarf. They make cute tiny decorations. Painting takes a steady hand, so this suits kids aged 5 and up. Let the paint dry fully before adding details.
15. Egg Carton Snowman
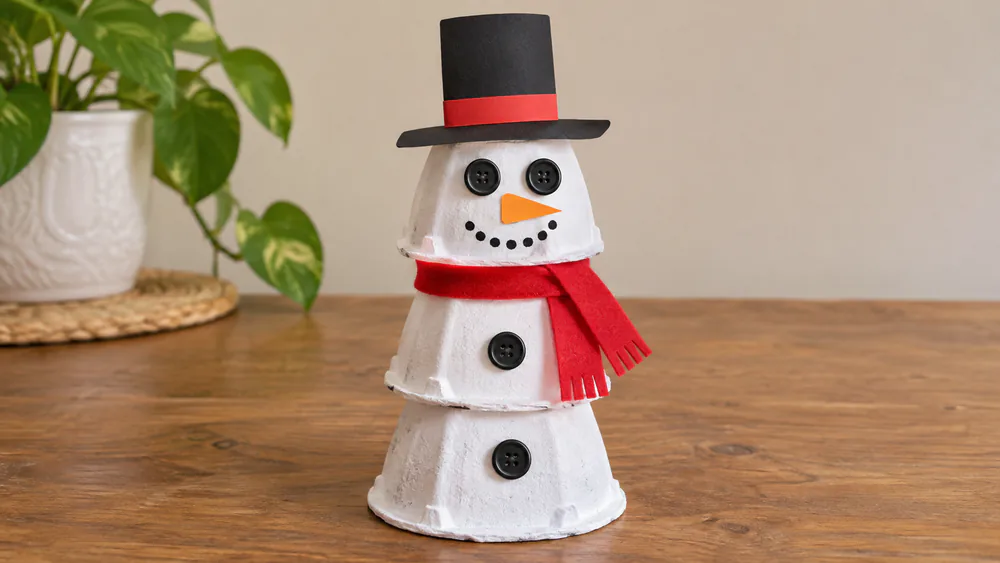
Cut egg carton cups apart, stack and glue three of them, then paint them white. Add a hat and a face. This is another easy upcycled craft for ages 4 and up. Give each child their own cups so nobody has to wait.
16. Coffee Filter Snowflakes
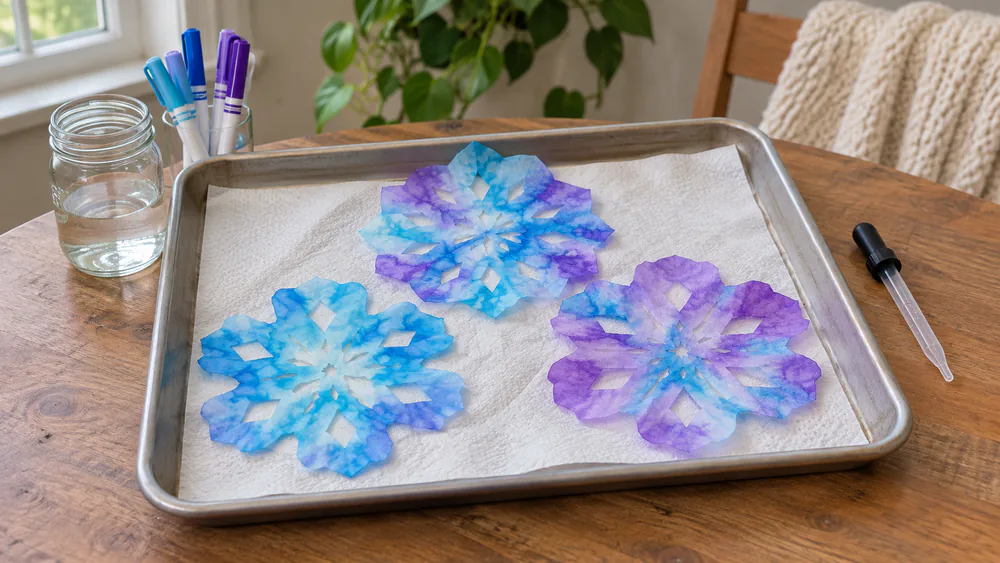
Flatten the filter first and color it heavily with washable markers, then mist it lightly with water. Too much water drips off and takes the color with it. An eyedropper gives toddlers more control than a spray bottle, and a tray catches the drips. They take a few hours to dry.
17. Fold-and-Cut Paper Snowflakes
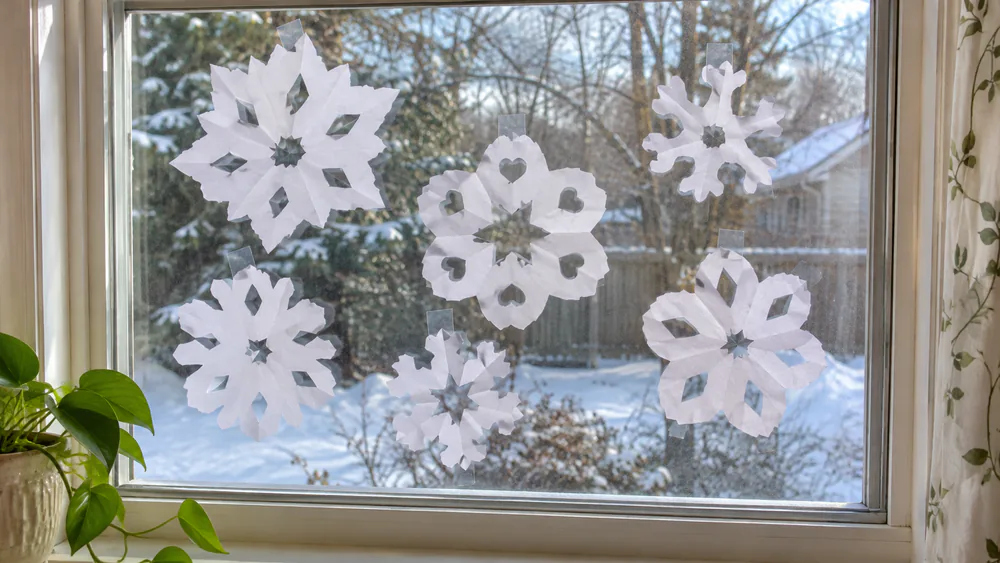
Fold a square of paper several times and snip shapes along the edges. These need scissor control, and thick folds need adult help. We found that uneven cuts often look the prettiest. This is perfect for older kids, and the results look great taped on a window.
18. Popsicle Stick Snowflakes
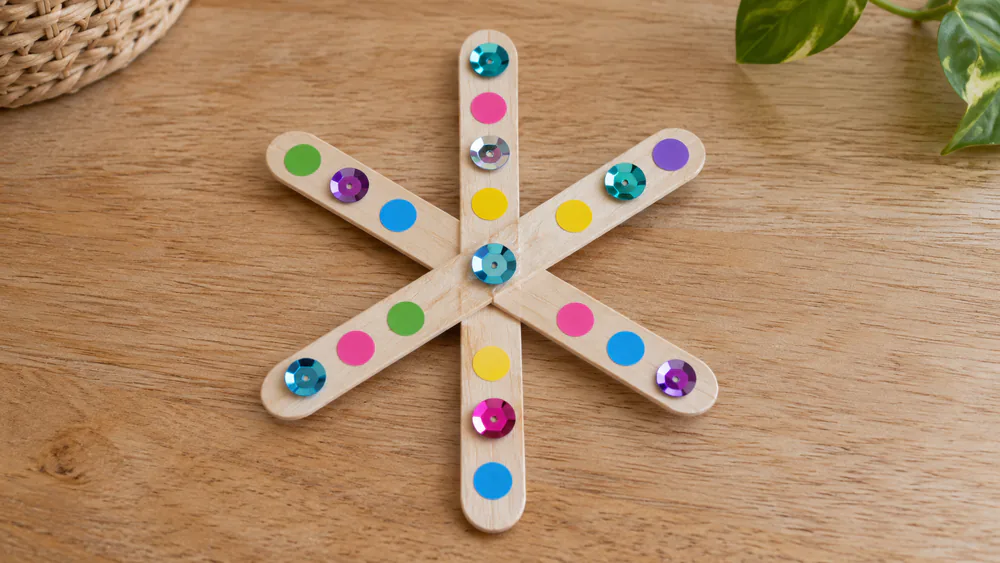
Glue craft sticks into a star shape ahead of time and let them dry fully before the kids add sequins. Gluing first saves a lot of frustration. These are good for ages 5 and up, and they are another easy way to reuse craft sticks.
19. Salt Dough Handprint Ornaments
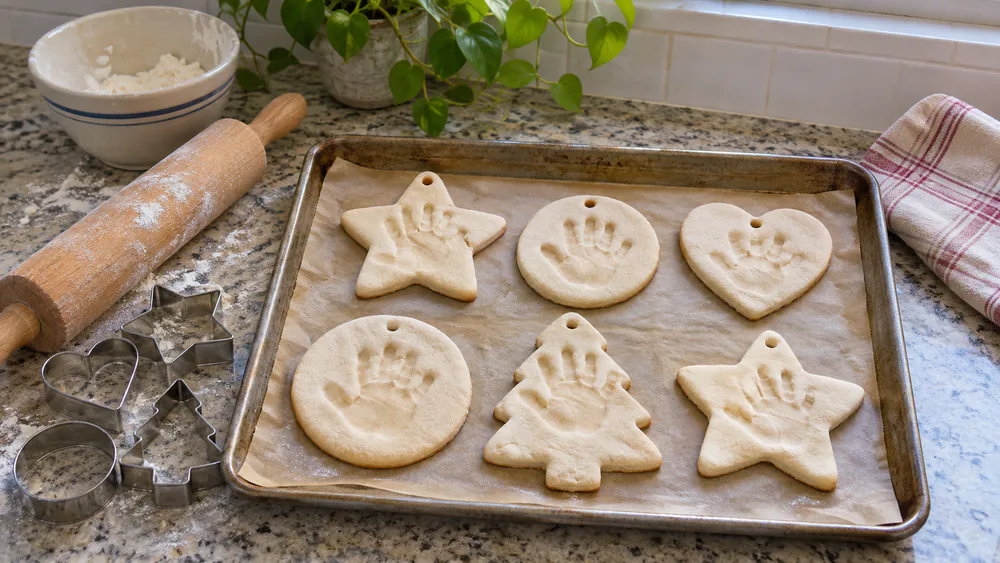
Mix 1 cup flour, 1/2 cup table salt, and about 1/2 cup water, then roll to about 1/4 inch thick. Bake at 200 to 250 F, with an adult at the oven, until hard all the way through. Rolling thin and even stops puffing and cracks. Seal with Mod Podge so they last for years.
20. Cinnamon Applesauce Ornaments
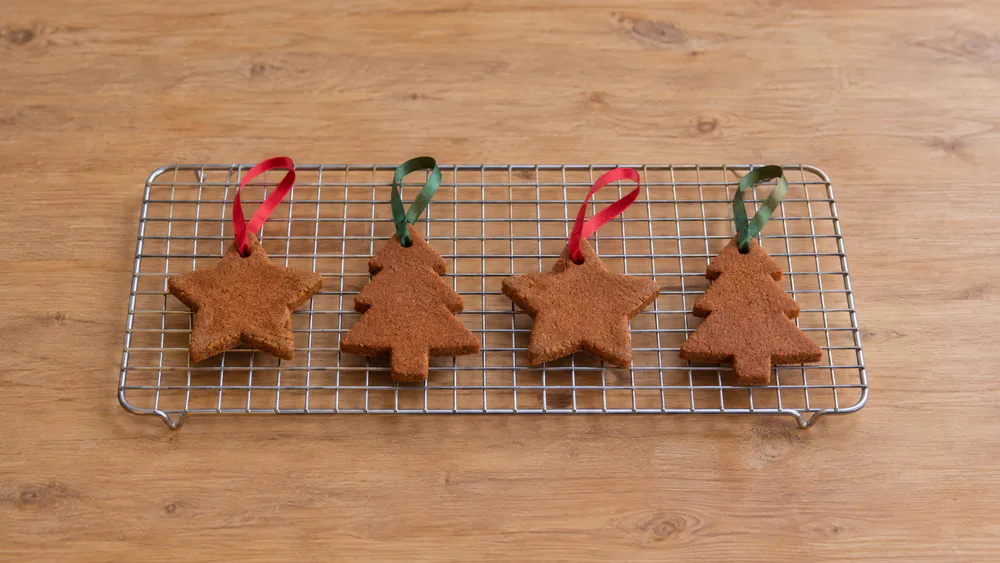
Mix 1 cup ground cinnamon, 3/4 cup unsweetened applesauce, and 2 tablespoons white craft glue. Cut shapes and let them dry for 24 to 48 hours. They are decorative and not edible. Stars, trees, and gingerbread shapes survived for us, but thin or narrow details snapped as they dried.
21. Yarn Wrapped Ornaments
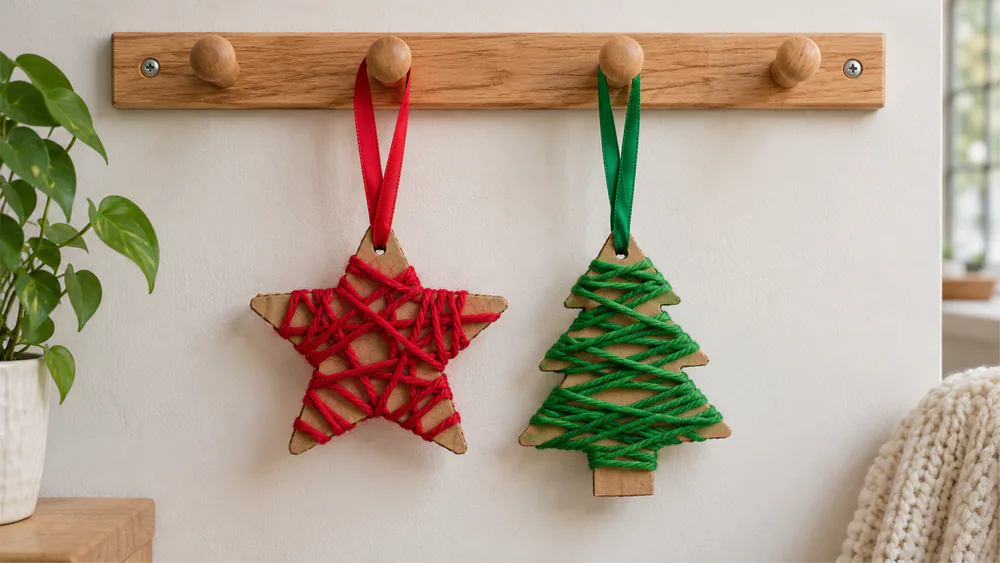
Cut a star or tree from cardboard, then wrap it in yarn and tie a loop on top. Chunky yarn fills the shape faster and is easier for small hands than thin string. It suits older kids, and it makes a good gift.
22. Fingerprint Christmas Light Cards
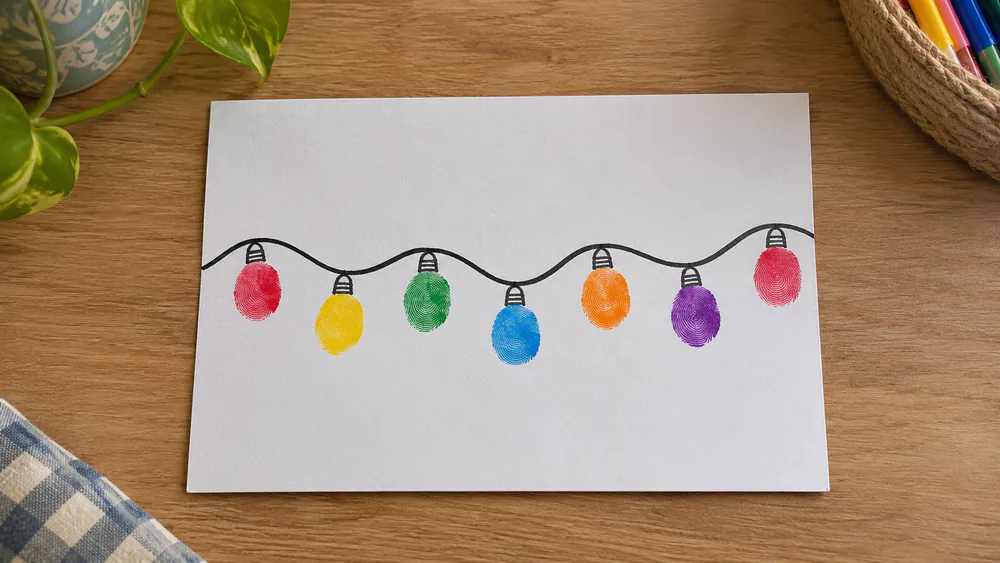
Draw a wavy string line across a card, then press colorful fingerprints along it as bulbs. Add little caps with a marker. It is quick, low-mess, and perfect for gifts. Write the name and year on the back.
23. Christmas Paper Chain Countdown
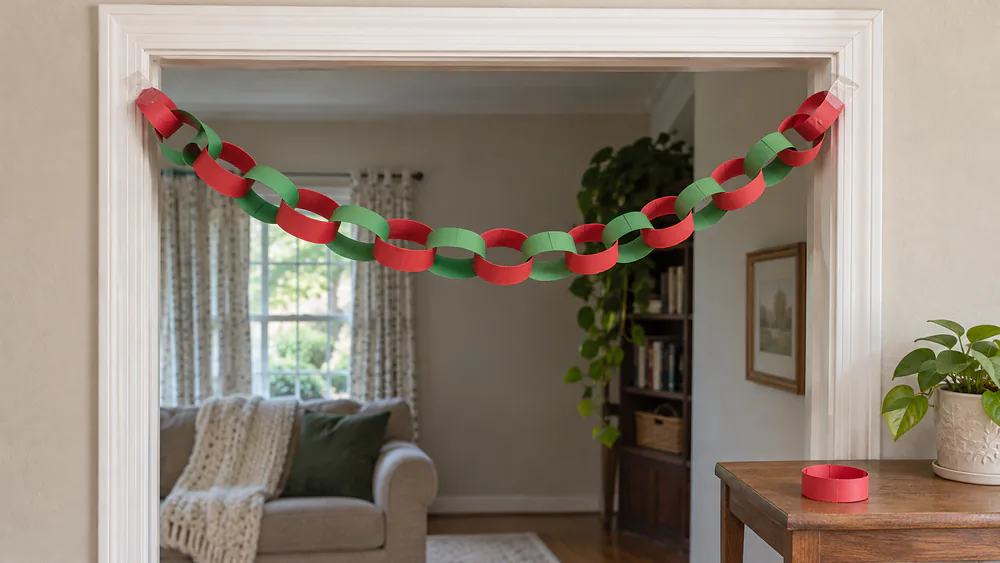
Cut red and green strips, then loop and glue them into a chain with one link for each day. Remove one link every morning. This is a nice way to make the wait to Christmas easy and fun, and it is good for ages 4 and up.
24. Paper Plate Christmas Wreath
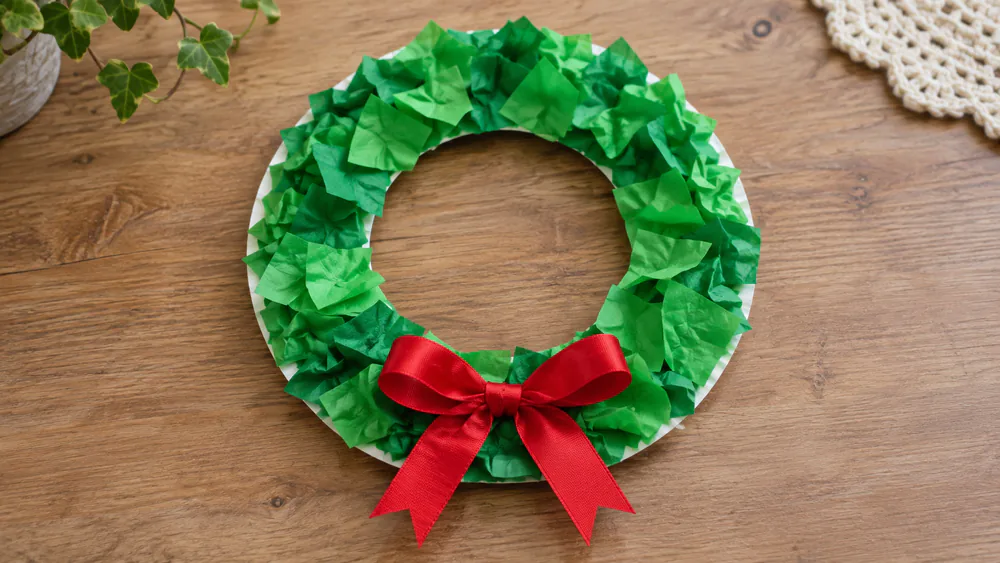
Cut out the center of a plate, then glue green tissue squares around the ring and add a bow. With pre-cut hard shapes, preschoolers just arrange and glue, so the craft finishes before attention fades. Good for ages 3 and up.
25. Pinecone Christmas Trees
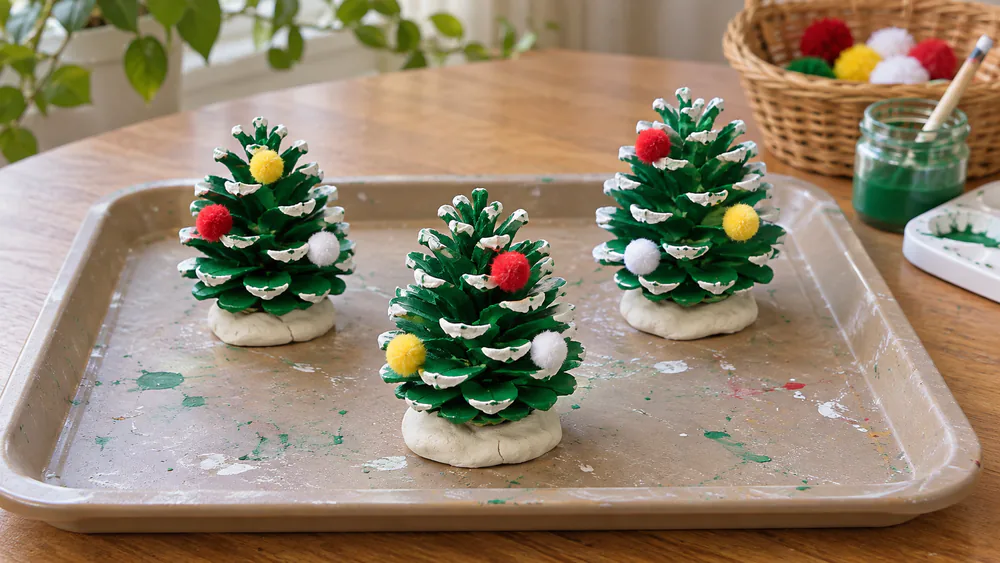
Gather pinecones, scrub them, and paint them green. Gathering and scrubbing the cones is part of the fun, so this is a good toddler project. Add small ornaments for kids over 3, and let the paint dry fully.
Best Christmas Crafts by Age
NoteSession length matters more than the craft. Active time of 10 to 25 minutes suits toddlers and preschoolers, and 30 to 45 minutes suits older kids.
Toddlers
Try sponge-painted trees, paper plate Santa, paper plate reindeer, and paper plate snowmen. Adults pre-cut large pieces. Pinecone trees and coffee filter snowflakes also work well.
Preschoolers
Paper plate trees, paper bag Santa puppets, handprint reindeer, and paper plate wreaths all work. Pre-cut the shapes, and let them arrange and glue.
Older Kids
Fold-and-cut snowflakes, salt dough ornaments, and yarn wrapped ornaments suit older kids. They can handle scissors and longer steps.
Frequently Asked Questions
What if my salt dough ornaments puff up or crack?
Roll the dough thin and even, about 1/4 inch, and bake low at 200 to 250 F until hard all the way through. Thick or uneven spots are what puff and crack.
How long does salt dough take to bake?
It takes about 2 to 3 hours, depending on thickness and oven temperature. Check that the ornament is hard all the way through.
How do I dry cinnamon applesauce ornaments?
Lay the cut shapes out and let them dry for 24 to 48 hours. Thin or narrow details can snap as they dry, so keep the shapes chunky.
Why did the color run off my coffee filter snowflake?
Too much water. Color heavily, then mist lightly, and let it dry for a few hours on a tray.
Which steps should an adult handle?
Hot glue, oven baking, and cutting thick folds or cardboard. Kids handle the decorating, gluing, and arranging.
Final Thoughts on Christmas Crafts for Kids
Pick two or three that match your kids' ages, and save the rest for another afternoon. Want more to try? Browse our Christmas art projects for kids next.